
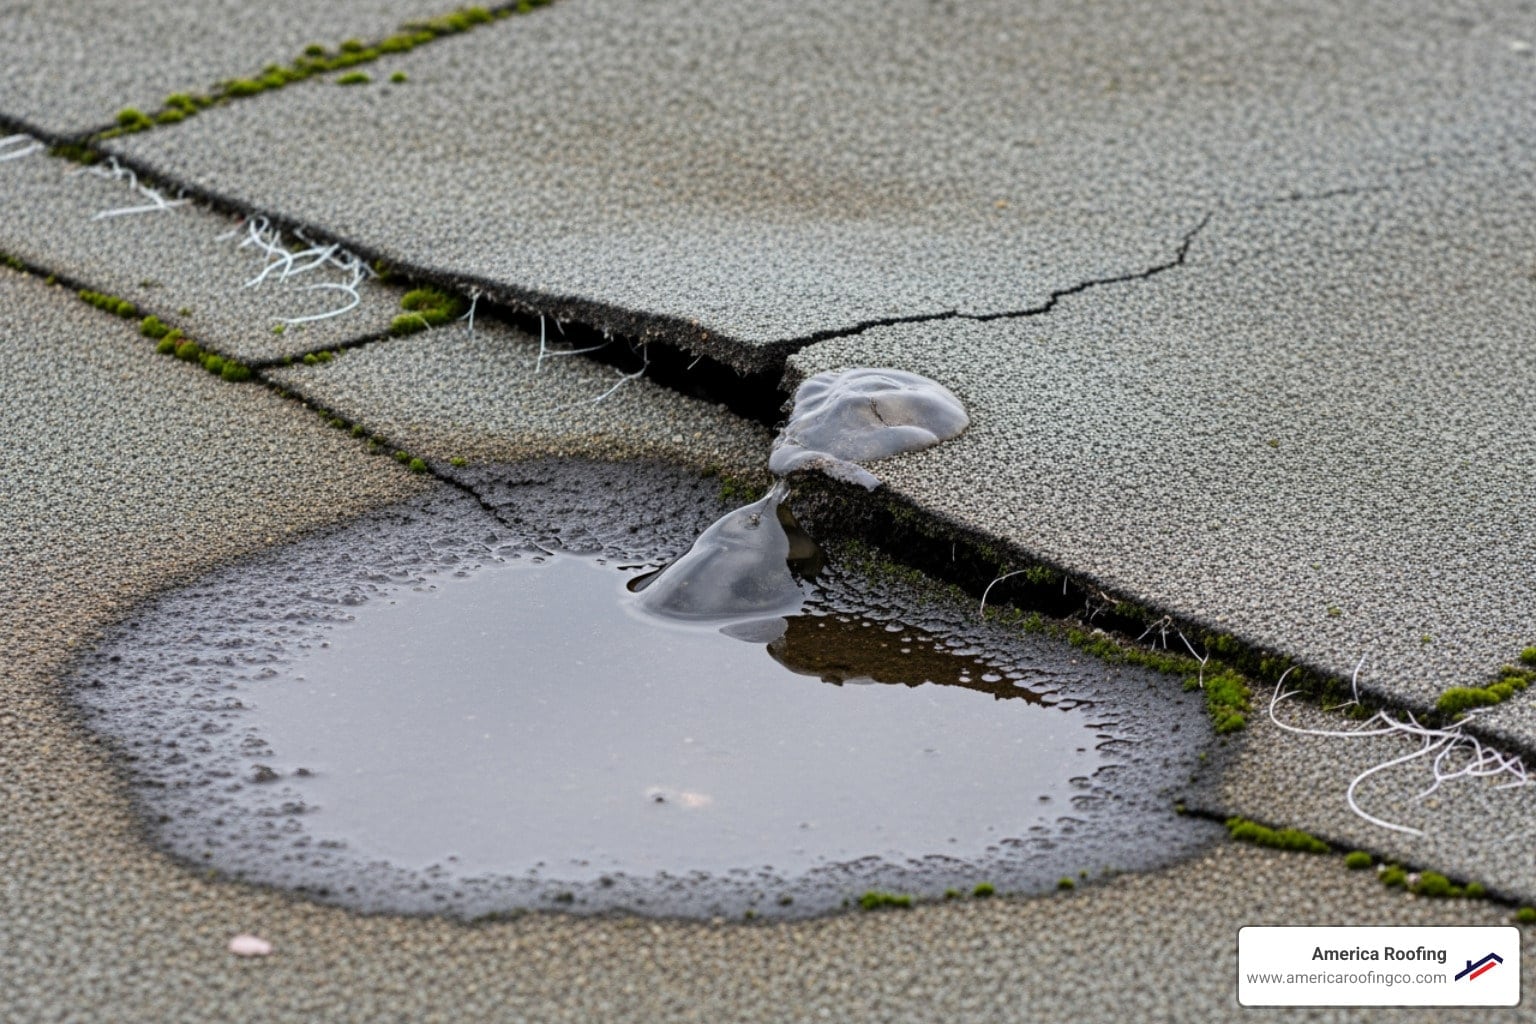
A
leaking grp roof
is a frustrating problem, but most GRP (Glass Reinforced Plastic) leaks are repairable without a full replacement. The key is to locate the source, assess the damage, and use the correct repair method. GRP roofing is durable, often lasting 20-25 years. However, leaks can occur, even on new roofs.
Improper installation is the most common cause
, often due to issues like insufficient topcoat, lack of space for thermal movement, or poor substrate preparation. Other common problems include pinholes, minor cracks, or faulty flashing. Whether you need a simple patch or a full replacement depends on the extent of the damage and the roof's age. This guide will help you identify the source of your leak, determine if it's repairable, and understand the steps to fix it yourself—or know when to call a professional.
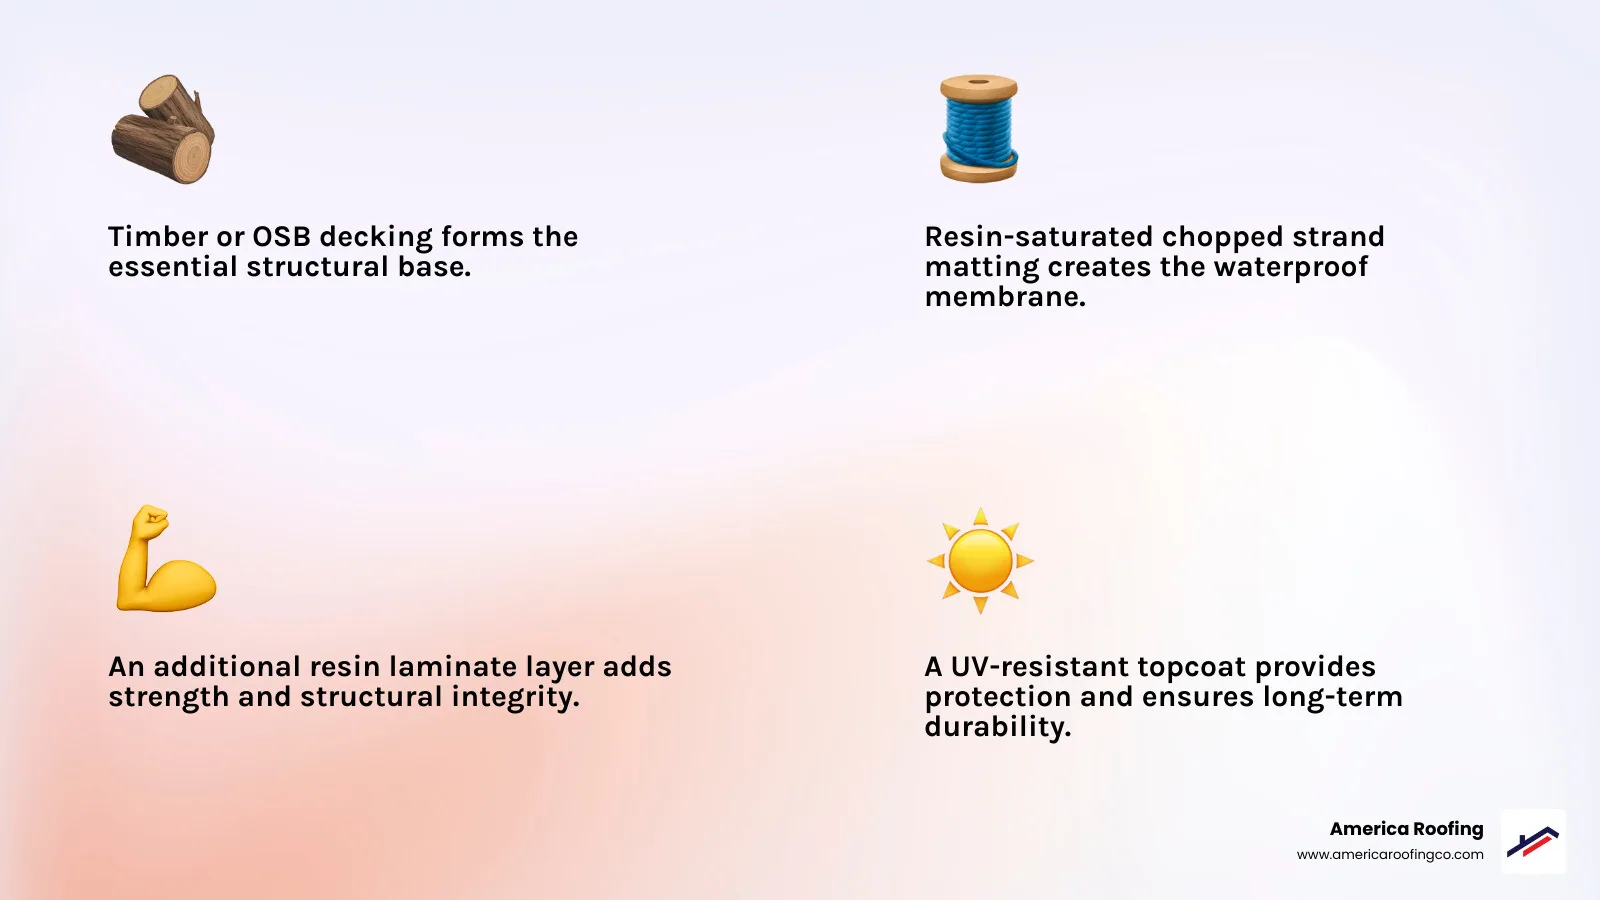
Identifying the Culprit: Common Causes of a Leaking GRP Roof
Even a tough GRP roof can leak. Understanding the cause is the first step to a lasting fix. Most leaks on a
leaking grp roof
fall into three categories:
improper installation
,
material failure
, and
external factors
. Arizona's temperature swings and intense UV exposure can accelerate these issues, making regular
crucial for early detection.
How Improper Installation Causes a Leaking GRP Roof
Poor workmanship is the leading cause of GRP roof leaks, even on new installations. Key mistakes include:
- Poor Substrate Preparation: Applying resin to a damp, dirty, or contaminated OSB deck prevents a strong bond.
- Incorrect Resin Mix or Application: An improper resin-to-catalyst ratio or applying it too thinly can lead to weak spots and pinholes—tiny holes that allow water to seep through.
- Insufficient Topcoat: The final protective layer, if too thin, will fail prematurely.
- Ignoring Thermal Expansion: GRP expands and contracts with temperature changes. Without adequate expansion joints and space at perimeter edges, the stress can cause the roof to crack. This is a significant factor in Arizona's climate. Always follow working at height safety guidelines when inspecting your roof.
Material Failure and Age-Related Issues
Even a perfectly installed GRP roof ages. Over time, you may see:
- Cracks: Develop from thermal movement or flexing of the underlying timber.
- Alligatoring: A cracked, shriveled surface resembling alligator skin, indicating the topcoat has lost its elasticity and the roof is at the end of its life.
- Blistering or Bubbling: Caused by trapped air or moisture expanding under the GRP membrane. These can rupture and create leaks.
- Delamination: Separation of the GRP layers, weakening the waterproof barrier.
- Punctures and Wear: Damage from falling objects or general degradation from decades of UV exposure and weather.
External Factors and Peripheral Problems
Sometimes the leak isn't in the main GRP membrane but in a related component.
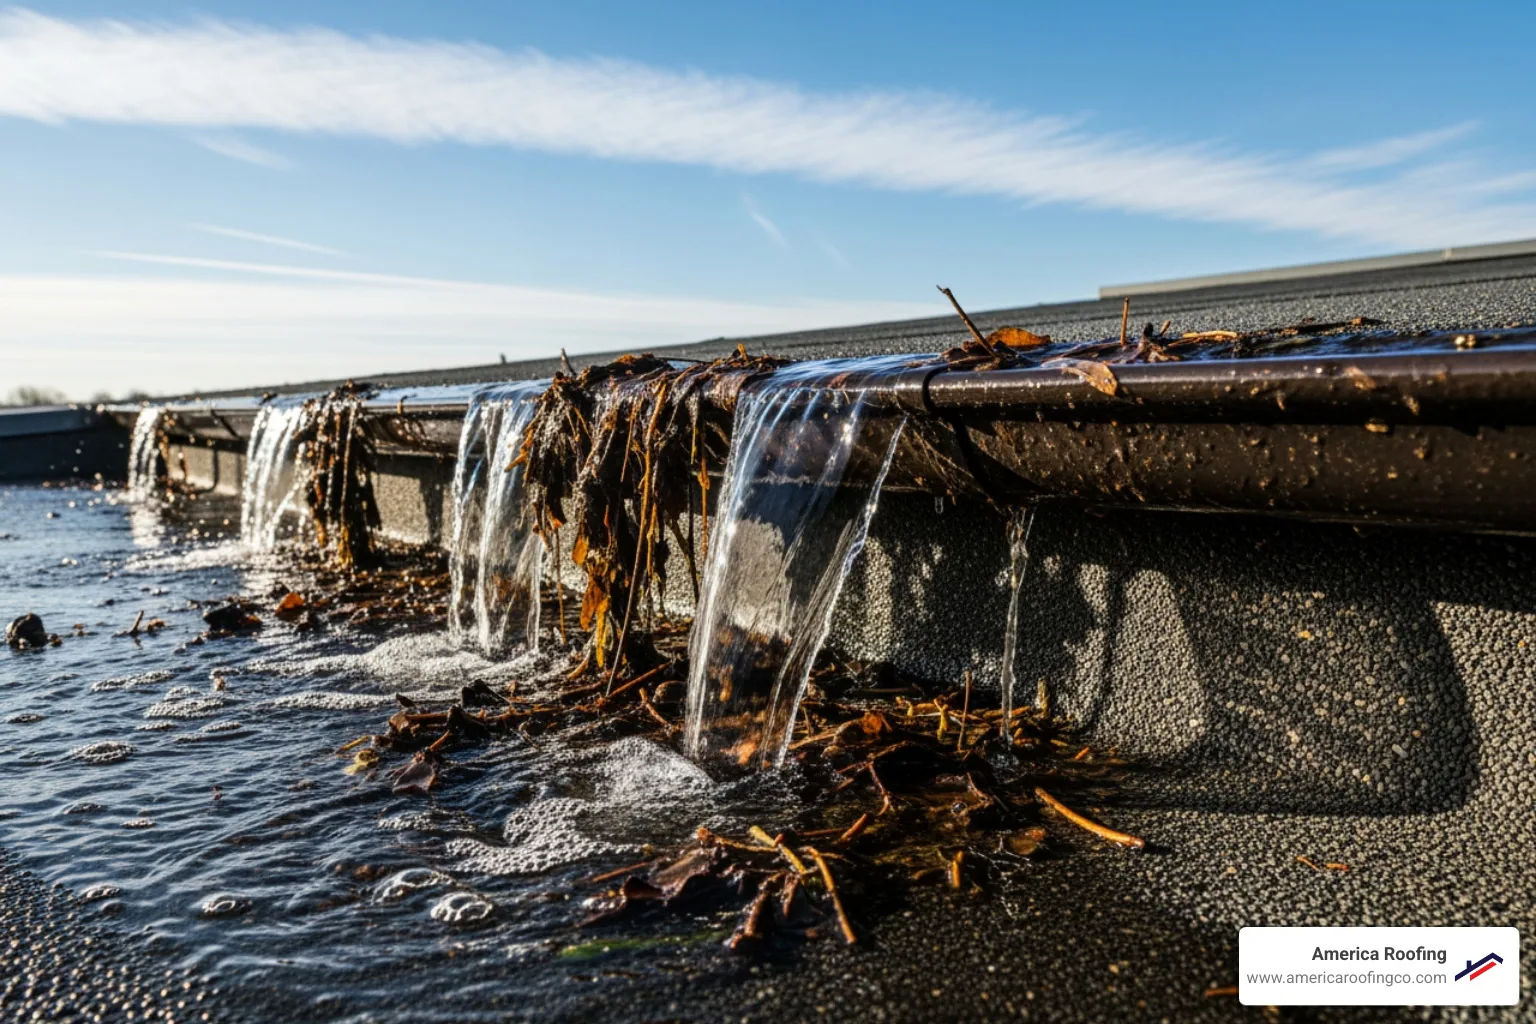
- Ponding Water: If a flat roof lacks the proper slope, standing water will accelerate wear and find weak points. This issue requires re-boarding to fix the slope, not just a new coating.
- Blocked Gutters: Overflowing gutters can cause water to back up under the roof edge or run down walls, mimicking a roof leak.
- Faulty Flashing: Damaged or detached flashing around chimneys, skylights, and walls is a common entry point for water.
- Damaged Wall Render: Cracks in an adjacent wall can let water in behind the roofing system.
- Physical Impact and Debris: Falling branches or piles of leaves can cause localized damage and trap moisture.
Before starting any repair, consult COSHH information for chemical safety.
The Detective Work: How to Pinpoint the Source of the Leak
Finding the exact entry point of a
leaking grp roof
requires patience, as water can travel far from the initial breach before appearing inside. A systematic approach, combining visual checks and controlled testing, is the key to solving the mystery.
Step 1: Conduct a Thorough Visual Inspection
Before climbing on your roof, always follow proper working at height safety guidelines. Start by inspecting the roof area directly above the interior leak, then expand your search. Look for:
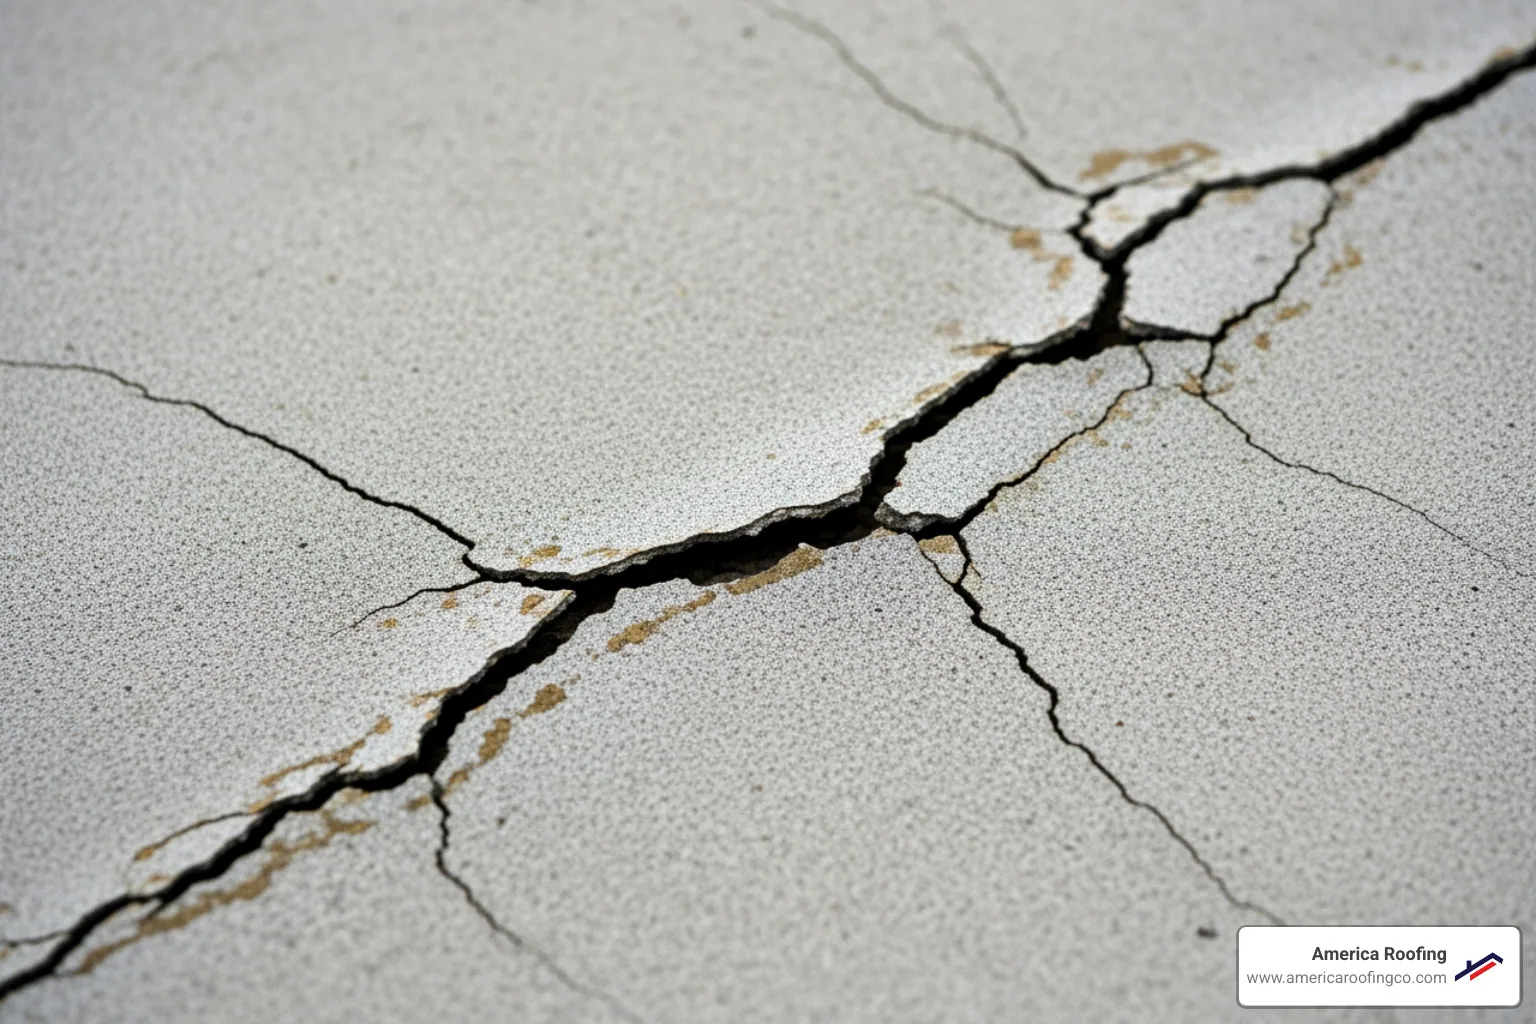
- Cracks: From hairline fractures to larger splits.
- Pinholes: Tiny, hard-to-see punctures in the topcoat.
- Blisters or Bubbles: Raised areas indicating trapped moisture or air.
- Alligatoring: A shriveled, cracked surface pattern signaling topcoat failure.
- Damaged Seams and Edges: Pay close attention to joints, upstands, and areas where the topcoat may be peeling.
- Signs of Ponding Water: Dirt rings or dark stains where water has been sitting.
Step 2: Perform a Controlled Water Test
If a visual inspection doesn't reveal the cause, a water test can help. Using a garden hose, soak a small section of the roof above the interior leak for 10-15 minutes while a helper watches for drips inside. Patience is crucial, as it can take time for water to travel through the roof structure. If no leak appears, move to an adjacent section and repeat the process. Work systematically, isolating small areas at a time. This methodical approach is far more effective than spraying the entire roof at once.
Step 3: Check Areas Beyond the GRP Membrane
The leak may not be in the GRP field itself. Thoroughly inspect peripheral elements:
- Flashing: Check for corrosion, cracks, or gaps in the metal or lead strips around edges, chimneys, and skylights.
- Wall Joints and Upstands: Ensure the GRP membrane is properly sealed where it turns up against a wall. A failed seal here is a common leak source.
- Gutters and Downspouts: Clear any blockages that could cause water to back up and overflow onto the roof structure.
- Penetrations: Inspect the seals around all vents, pipes, and skylights.
- Adjacent Walls: Look for cracks in stucco or render that could allow water to get behind the roofing system.
For a complete evaluation of these potential problem areas, consider a professional
to identify both obvious and hidden vulnerabilities.
A Step-by-Step Guide to GRP Roof Repair
Once you've found the leak on your
leaking grp roof
, you can proceed with the repair. Many minor issues are DIY-friendly, but safety is paramount. Always follow Working at height safety guidelines and consult Chemical safety information (COSHH) guidelines before handling GRP resins and catalysts. Wear gloves, safety glasses, and a respirator. If you're uncomfortable, call a professional.
Immediate Steps to Manage an Active Leak
If water is dripping inside, take these damage control steps:
- Catch the water with buckets or towels to protect your property.
- Place a temporary tarp over the suspected leak area on the roof, securing it firmly.
- Dry the area completely once the weather clears. GRP repairs require a perfectly dry surface to bond correctly.
Repairing Minor Damage on a leaking GRP roof (Pinholes & Hairline Cracks)
For small issues, a simple topcoat application is often sufficient.
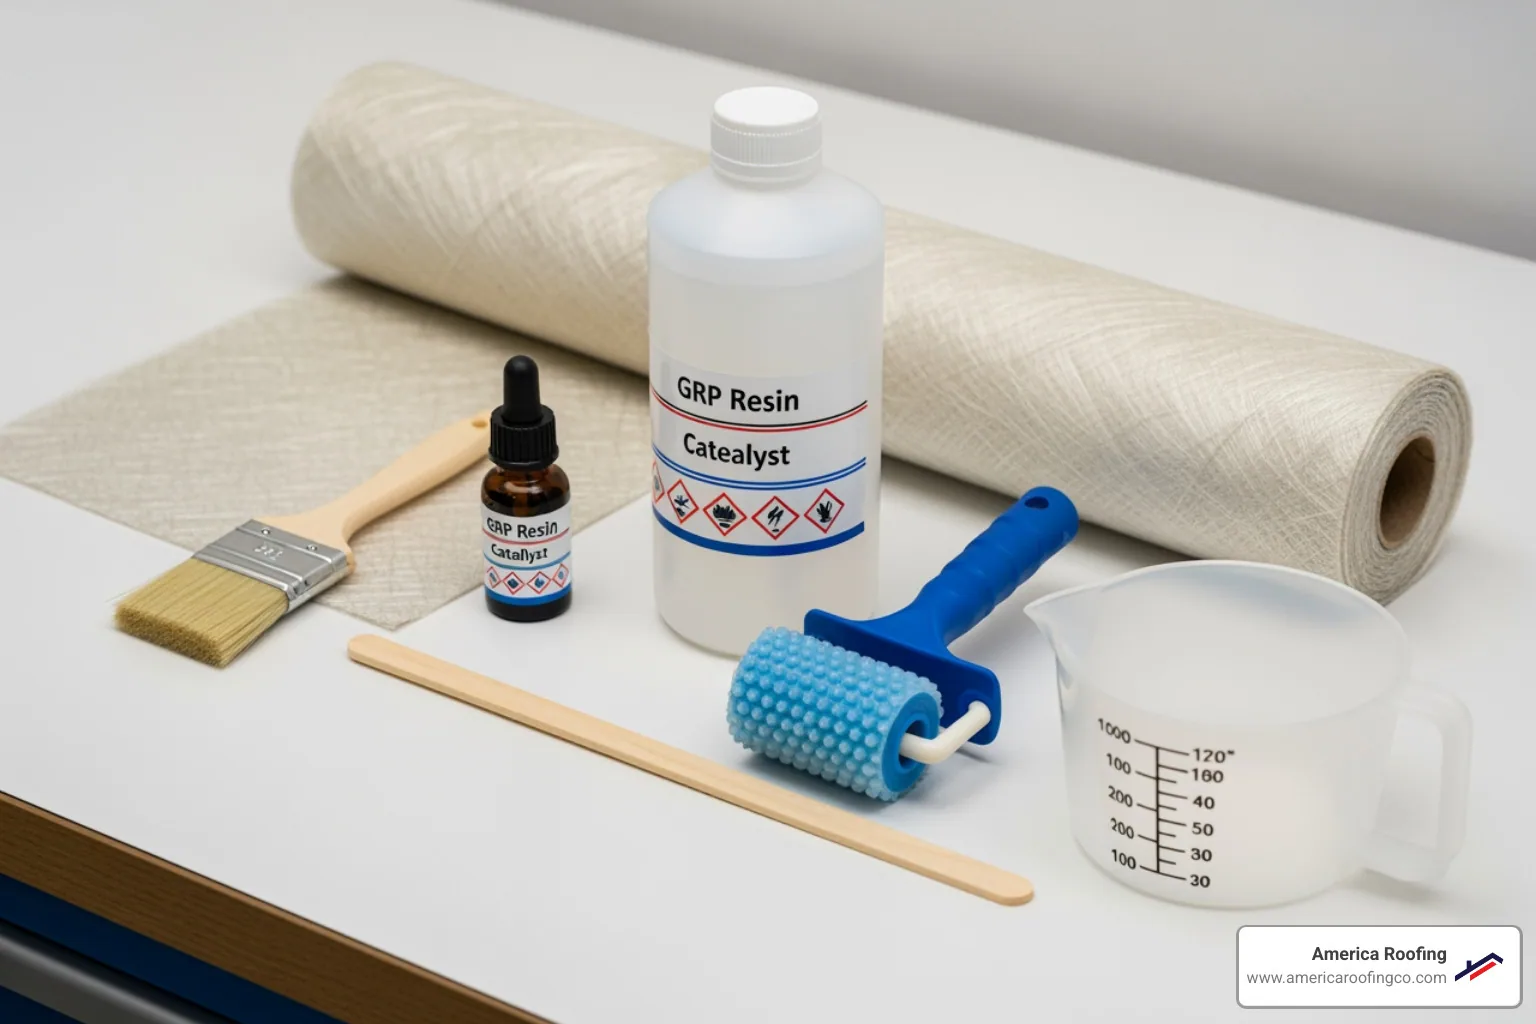
- Clean the Area: Scrub the damaged section with detergent and water, then rinse and let it dry completely.
- Sand the Surface: Lightly sand the area with 80-120 grit sandpaper to create a rough surface for the new resin to grip. Wipe away all dust.
- Apply New Topcoat: Mix GRP topcoat (flowcoat) with catalyst according to the manufacturer's instructions. Brush a thin, even layer over the pinholes or cracks. Allow it to cure for 6-12 hours before applying a final topcoat layer for a seamless finish.
Tackling Larger Leaks and Punctures
Larger cracks or punctures require a more robust patch using laminating resin and Chopped Strand Mat (CSM). You will need a GRP patch repair kit or the individual materials, including a paddle roller to remove air bubbles.
- Prepare the Damage: Clean the area well beyond the puncture. Cut away any loose or damaged GRP. Sand the edges of the good GRP to create a feathered, tapered slope down to the substrate.
- Check the Substrate: Ensure the underlying OSB or plywood is dry and sound. Replace any rotted or damaged wood before proceeding.
- Cut the Matting: Cut at least two layers of CSM, with each piece slightly larger than the one below it to create a strong, graduated patch.
- Mix and Apply Resin: Mix your laminating resin with catalyst. Apply a thin layer to the prepared substrate. Place the first piece of CSM onto the wet resin and saturate it with more resin.
- Consolidate the Patch: Use a paddle roller to firmly roll over the matting, working from the center out. This removes all air bubbles and ensures the mat is fully saturated (it should look translucent).
- Build Layers: Repeat the process for the second layer of CSM, ensuring no air is trapped.
- Cure: Allow the patch to cure completely until it is rock-hard. This can take 6-12 hours or more, depending on the temperature. Do not rush this step.
- Apply Topcoat: Once cured, lightly sand the patch, clean off the dust, and apply an even layer of catalyzed topcoat over the entire repair, extending slightly onto the existing roof. This final layer provides the essential waterproofing and UV protection.
If this process seems too complex or the damage is extensive, it's best to get a
professional roof repair estimate
.
Repair or Replace? Making the Right Decision
Deciding whether to repair or replace your
leaking grp roof
is a critical decision for your Arizona property. The right choice depends on the extent of the damage, the roof's age, the condition of the underlying structure, and your budget.
When is a GRP Roof Leak Repairable?
Many GRP roof leaks are repairable, especially when caught early. A repair is typically the best option if:
- Damage is Localized: The issue is confined to a specific area, such as a single crack, a few pinholes, or a small puncture.
- The Affected Area is Small: As a general rule, if the damage covers less than 25% of the total roof area, a repair is viable. According to the Rules for flat roof repairs, work under this threshold is often considered a repair, not a replacement.
- The Roof is Relatively Young: For a GRP roof under 10-15 years old, a repair can extend its life significantly.
- The Underlying Deck is Sound: The timber or OSB deck beneath the GRP must be dry and structurally intact.
| Factor | Repair | Replacement |
|---|---|---|
| Damage Area | Localized, less than 25% | Widespread, over 50%, systemic issues |
| Roof Age | Relatively new (under 10-15 years) | Nearing or beyond typical lifespan (20-25+ years) |
| Cost | Lower initial cost | Higher initial investment |
| Long-Term Viability | Good for isolated issues, extends lifespan | Best for long-term solution, new warranty |
| Underlying Deck | Sound and dry | Compromised, rotten, or poorly sloped |
| Aesthetics | Patch might be visible | Uniform new appearance |
When is a Full Replacement Necessary?
Sometimes a repair is not enough. A full replacement is necessary when you see:
- Widespread Alligatoring: If the entire roof surface is cracked and shriveled, the membrane is failing and cannot be effectively patched.
- Extensive Structural Damage: If the underlying timber deck is rotting or waterlogged from prolonged leaks, the entire system must be torn off and replaced.
- Multiple Failed Repairs: If leaks continue to appear in different spots after several patches, it indicates a systemic failure. Continuing to repair is a poor investment.
- Advanced Age: As a GRP roof approaches or exceeds its 20-25 year lifespan, replacement is often more cost-effective than repairing age-related degradation, especially in Arizona's harsh climate.
- Significant Ponding Water: If your roof has poor drainage, the only permanent fix is re-boarding to create a proper slope, which is best done as part of a full replacement.
If a repair requires removing the existing membrane, Building Regulations Part L may require you to upgrade the roof's insulation, which can improve your home's energy efficiency. For a clear assessment of your options,
get a professional roof repair estimate in Arizona
to understand the best path forward.
Frequently Asked Questions about GRP Roof Leaks
Homeowners often have similar questions about a
leaking grp roof
. Here are straight answers to the most common ones.
How long should a properly installed GRP roof last?
A correctly installed GRP roof using quality materials has an industry-standard lifespan of
20 to 25 years
. With excellent workmanship and regular maintenance, some systems can even be guaranteed for up to 40 years. The key is proper installation—correct substrate prep, resin mixing, and topcoat application are essential for longevity. Simple maintenance, like keeping gutters clear, is also crucial, especially given Arizona's intense UV exposure and temperature swings.
What causes the cracking or creaking noises from my GRP roof?
Those creaks and cracks are almost always caused by
thermal expansion and contraction
. GRP is a rigid material that expands in the heat and contracts in the cold. In Arizona, the dramatic temperature shift from a hot day to a cool night makes this effect more pronounced. If the roof was installed without proper expansion joints or space at the edges, this movement creates stress, resulting in noise. While often normal, if the sounds are accompanied by new, visible cracks, it's time for a professional inspection.
Can I repair a GRP roof in cold or damp weather?
No, repairing a
leaking grp roof
in cold or damp conditions is
not recommended
. The resins used in GRP repairs require specific conditions to cure properly:
- Temperature: Most resins need temperatures above 7-8°C (45-46°F) to cure. In colder weather, the resin may not harden correctly, leading to a failed repair.
- Moisture: The surface must be completely dry. Any moisture from rain, dew, or even high humidity will interfere with the chemical bonding process, causing poor adhesion and blisters.
Always check the manufacturer's specifications for temperature and humidity. For emergency leaks in poor weather, use a temporary tarp and wait for warm, dry conditions to perform a permanent repair. For professional help in any weather, consider our
professional roof repair services in Arizona
.
Conclusion: Protecting Your Investment with Proper Care
Dealing with a
leaking grp roof
is manageable with the right knowledge. Most problems stem from installation errors or maintenance oversights, not catastrophic failure. A properly installed GRP roof should last 20-25 years, but this requires correct substrate prep, adequate topcoat, and proper expansion joints. In Arizona, our extreme temperature swings and intense UV exposure demand
climate-resilient solutions
. Regular inspections are your best defense, allowing you to catch minor issues like pinholes or cracks before they escalate. Prevention is always more cost-effective than emergency repairs. Keep gutters clear, inspect your roof twice a year, and address damage promptly. While many small repairs are DIY-friendly, there is no substitute for professional expertise when dealing with large-scale damage or if you are unsure about the process. Your roof is a critical asset, and proper care protects your investment. If you're facing a
leaking grp roof
and need an expert opinion, we're here to help. As a veteran-owned, Arizona-based company, we provide honest assessments and transparent solutions custom to our climate.
Get a professional roof repair estimate in Arizona
and let us restore your peace of mind.