
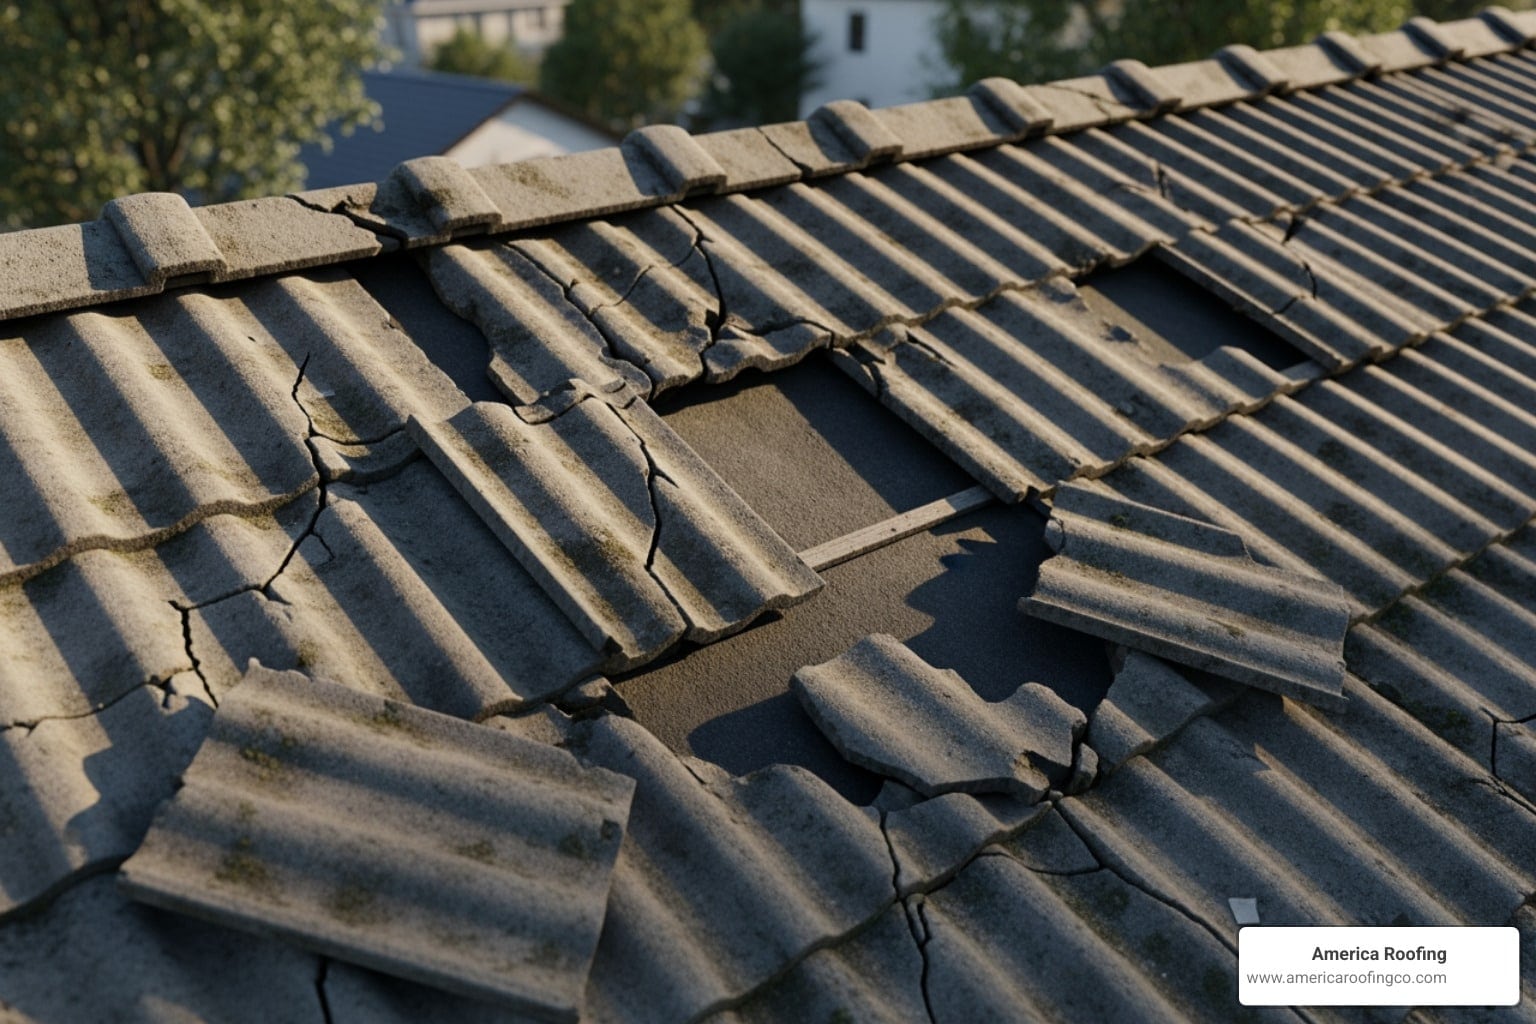
Concrete tile roofs are a popular choice for Arizona homeowners, but even the toughest roofs need attention now and then. If you’re dealing with leaks or visible damage, understanding your concrete tile roof repair options is the first step toward protecting your home. This guide will walk you through everything you need to know to make the right choice.
Quick Answer: Your Concrete Tile Roof Repair Options
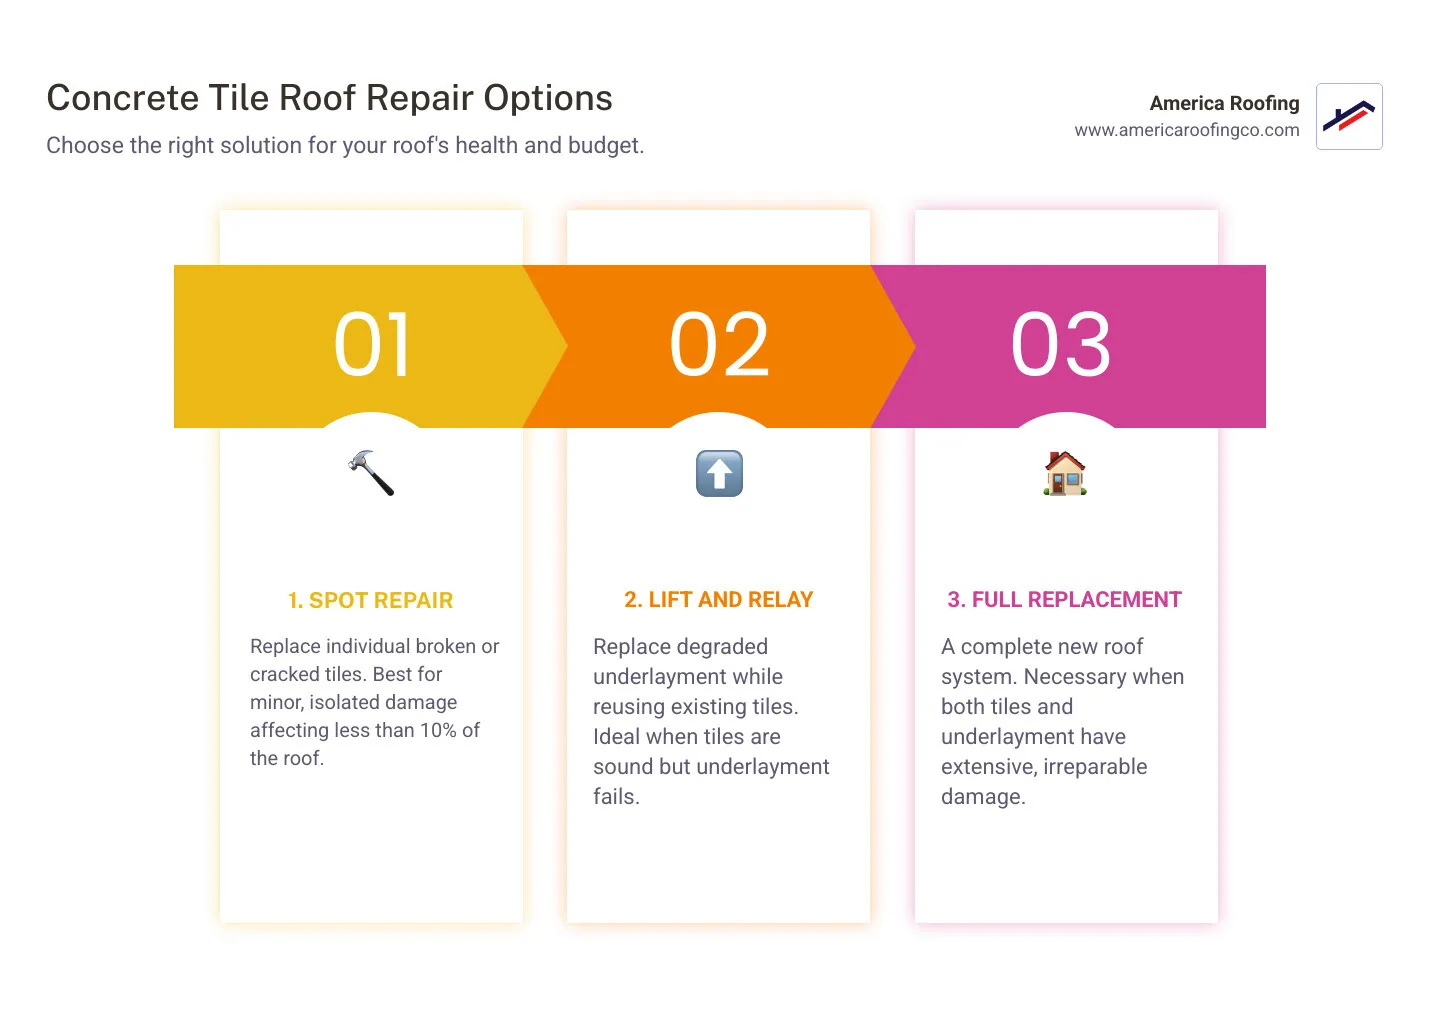
If you’re searching for concrete tile roof repair solutions, here are your three main options:
- Spot Repair – Replace individual broken or cracked tiles. This is best for minor damage affecting less than 10% of the roof.
- Lift and Relay – Remove existing tiles, replace the underlayment, and reinstall your original tiles. This is ideal when the underlayment fails but the tiles are still in good condition.
- Full Replacement – A complete roof system replacement, necessary when both tiles and underlayment are beyond repair.
Most common issues requiring repair:
- Cracked or broken tiles from impact or foot traffic
- Underlayment deterioration (typically after 20-30 years in Arizona)
- Slipped tiles from failed fasteners
- Water intrusion and interior leak damage
- Efflorescence (white chalky deposits on tiles)
Why Understanding Your Repair Options Matters
Here’s the thing: while concrete tiles can last 50 years or more, the underlayment beneath them often fails much sooner. Many Arizona homeowners find leaks and assume they need a complete roof replacement, when in reality, a lift and relay process could restore their roof’s integrity at a fraction of the cost.
The challenge is knowing which approach makes sense. A single broken tile is a quick fix, but widespread cracking or persistent leaks often point to deeper issues that require a professional assessment.
Cost is a major factor. Replacing a few tiles might cost $200-$500, while a lift and relay for an average 1,500 sq ft roof runs $5,400-$7,660. A full replacement with new tiles could be around $27,000 for that same roof. Understanding the damage helps you avoid paying for more work than you need.
Let me explain something that surprises many homeowners: the underlayment—that waterproof barrier beneath your tiles—is the most critical part of your roof system. In Arizona’s intense heat, underlayment degrades faster than in other climates. When it fails, you get leaks even if your tiles look perfectly fine.
Diagnosing the Damage: When Does Your Concrete Tile Roof Need Repair?
Before you can fix a problem, you have to know what you’re looking for. What looks like a minor issue on a concrete tile roof could be a sign of something bigger hidden beneath the surface. We encourage homeowners across Arizona to do visual inspections, especially after our intense monsoon seasons.
Common Signs of Concrete Tile Damage
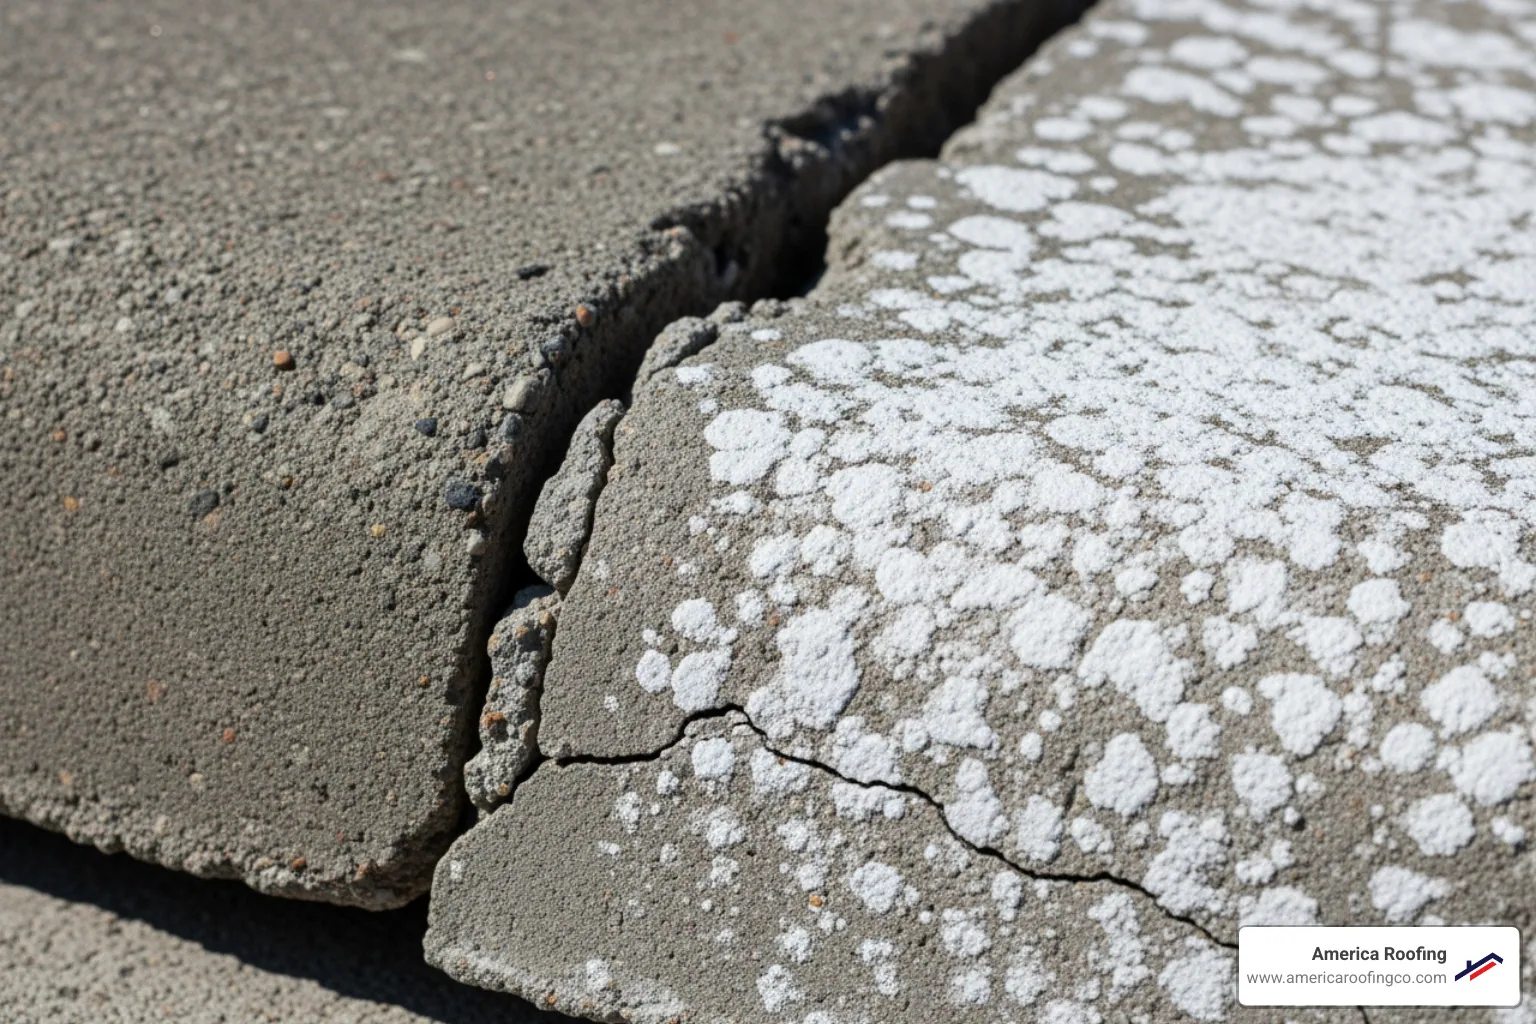
Here are the most common indicators that your roof needs attention:
- Cracked or Broken Tiles: Caused by impact (like storm debris) or foot traffic. Even small cracks can let water seep through, compromising the underlayment.
- Slipped Tiles: Tiles that have shifted out of place indicate a problem with their fasteners. This exposes the underlayment to UV damage and water.
- Efflorescence: This white, chalky residue is mostly a cosmetic issue but can indicate that tiles are absorbing excess moisture.
- Debris in Gutters: Finding small tile fragments in your gutters can signal that your tiles are deteriorating.
- Interior Water Stains: Water stains on your ceiling are a tell-tale sign that water has already breached your roof system and you have an active leak. For more on this, see our guide on How to Spot and Prevent Roof Leaks.
The Hidden Culprit: Underlayment Failure
Honestly, the tiles themselves are rarely the sole source of a leak. While concrete tiles are incredibly durable, the asphalt felt underlayment beneath them has a much shorter lifespan. In Arizona’s harsh climate, this underlayment typically needs replacement after 20-30 years.
The underlayment is the true waterproof barrier. The tiles shed most of the water and protect the underlayment from UV rays. When the underlayment becomes brittle and cracks, it can no longer protect your home, even if the tiles look fine. This is why understanding the health of your underlayment is crucial for effective concrete tile roof repair. Our Phoenix Tile Roofs: Lifespan Guide offers more insight.
Repair, ‘Lift and Relay’, or Full Replacement?
How do you decide on the best course of action? It boils down to the extent of the damage and the condition of your underlayment.
- Spot Repair: The best solution for a few cracked or broken tiles when the underlayment is still in good shape. This is a minor repair that typically costs a few hundred dollars.
- Lift and Relay Process: Ideal for roofs where the tiles are still good (they can last 50+ years!) but the underlayment has reached the end of its 20-30 year lifespan. We carefully remove your tiles, replace the old underlayment, and reinstall the original tiles. This restores your roof’s waterproofing for significantly less than a full replacement. For a 1,500 sq ft roof, this typically ranges from $5,400 to $7,660.
- Full Replacement: Necessary when both tiles and underlayment are extensively damaged. A new concrete tile roof costs about $18 per square foot, or around $27,000 for a 1,500 sq ft home. Our guide on Roof Repair vs. Roof Replacement: What Is Better? can help you make this critical decision.
A Practical Guide to Concrete Tile Roof Repair
Tackling a repair yourself can be tempting, but it comes with significant risks. Concrete tiles are heavy (6-11 lbs/ft²), and improper work can lead to more damage, serious injuries, or a compromised roof. While we always recommend professional help for concrete tile roof repair, if you’re considering a small DIY fix, understanding the process and prioritizing safety is absolutely crucial.
Essential Tools and Materials for a Successful Concrete Tile Roof Repair
For a minor repair, having the right equipment is non-negotiable. Professionals use specialized versions of these tools for safety and efficiency.

- Pry bar
- Hammer and trowel
- Matching replacement tiles
- High-quality plastic roofing cement
- Galvanized roofing nails
- Wire brush and utility knife
- Safety Gear: Sturdy ladder, safety harness, gloves, slip-resistant shoes, and eye protection.
- Weight Distribution: Crawl boards or roof ladders to avoid walking directly on tiles.
Step-by-Step: Replacing a Broken Concrete Tile
Here is a simplified overview of how a single broken tile is replaced. This process is for a minor issue where the underlayment is intact. Anything more complex requires a professional.
- Safety First: Secure your ladder and put on all personal protective equipment (PPE).
- Access the Tile: Use a pry bar to gently lift the overlapping tiles above the broken one.
- Remove Debris: Carefully break and remove the pieces of the damaged tile without harming adjacent tiles or the underlayment.
- Inspect & Prepare: Check the underlayment for tears. Patch any small holes with roofing cement and clean the area.
- Install New Tile: Slide the replacement tile into position, ensuring it aligns perfectly.
- Secure the Tile: Fasten the tile with a nail or roofing cement, according to manufacturer specifications.
This process sounds simple, but one wrong move can cause more damage or lead to a fall. For a more comprehensive look at repairs, see our Roof Repair Guide.
Safety First: Critical Precautions for a DIY Concrete Tile Roof Repair
You know what? This is the most important part. Working on a roof is inherently dangerous.
- Ladder Safety: Your ladder should be on level ground, extend three feet above the roof edge, and be securely anchored. Always maintain three points of contact.
- Weight Distribution: Never walk directly on tiles. Use crawl boards to distribute your weight. If you must step on a tile, place your foot on the head lap (the upper, supported part of the tile).
- Personal Protective Equipment (PPE): A safety harness secured to a proper anchor point is non-negotiable. Always wear slip-resistant shoes, gloves, and eye protection.
- Weather: Never work on a roof in wet, windy, or icy conditions. Plan your work for cooler parts of the day to avoid extreme heat.
- Know Your Limits: Honestly, if you feel unsure at any point, it’s time to call a professional. The cost of a pro is far less than an emergency room visit or fixing a botched repair. For more safety details, refer to our guide on Roofing Safety: Essential Precautions Every Homeowner Should Take.
Conclusion: Ensuring the Longevity of Your Roof
While a single-tile fix might seem manageable, most concrete tile roof repair jobs are best left to professionals. The risks associated with underlayment damage, the structural weight of the tiles, and working at heights are significant. A professional inspection can uncover hidden issues and ensure the job is done right, protecting your home for years to come.
We want your concrete tile roof to last its full 50+ year lifespan, especially here in Arizona where they are perfectly suited to our climate. Proper maintenance, including annual inspections and timely repairs, is the key to longevity.
For homeowners in Phoenix, Tucson, Mesa, Chandler, Gilbert, and across the valley, America Roofing provides expert service custom to our unique climate. We specialize in concrete tile roof repair, replacement, and maintenance engineered for Arizona’s extreme heat and monsoons. We deliver honest advice, transparent 2025 pricing, premium materials, and flawless craftsmanship that turns clients into lifelong advocates. Ready to get your roof back in top shape? Explore our tile roofing services today.