

Why Addressing Minor Roof Leaks Quickly Matters
A small ceiling drip can come from flashing, a penetration, damaged material or water traveling from another entry point. Early diagnosis may keep the repair limited, but the source has to be confirmed before work begins.
A small leak is never just a small problem. Even a tiny trickle can travel along rafters and beams, soaking insulation, rotting wood, and creating the perfect environment for mold. In Arizona's climate, where monsoons can dump inches of rain in minutes and intense UV exposure weakens materials year-round, that minor leak can escalate fast.
Here's what homeowners searching for minor roof leak repair need to know right now:
- Common causes: Missing or damaged shingles, cracked vent boots, failing flashing around chimneys or vents, nail pops, and clogged gutters
- Average cost: $150-$400 for minor repairs like replacing a few shingles or resealing a vent
- When to DIY: Single damaged shingles, small cracks in sealant, accessible low-pitch roofs on single-story homes
- When to call a pro: Multiple leaks, steep roofs, structural damage, or if you can't locate the source after inspection
The tricky part? Water doesn't always drip where it enters. That stain on your living room ceiling might be coming from a damaged vent boot ten feet away. This is why proper identification is critical before you grab a ladder and a tube of caulk.
Minor roof leak repair vocabulary:
Identifying and Preparing for a Minor Roof Leak
Honestly, the hardest part of any repair is often just figuring out what’s wrong and getting your ducks in a row. Before you can fix the leak, you need to play detective. Here’s the thing: the drip you see inside is rarely where the water is getting in on the roof.
Common Causes and Telltale Signs of a Leak
Most minor roof leaks stem from a handful of common culprits, often related to age, weather, or improper installation. Identifying these early can save you a significant amount of stress and money. The key is to know what to look for, both inside and out.
What are the most common causes of minor roof leaks?
- Missing or Damaged Shingles: High winds, common during Arizona monsoons, can lift, crack, or tear shingles. Extreme UV exposure also makes them brittle.
- Damaged Vent Boots: The rubber or metal seals around plumbing vents can crack or rot from sun exposure, allowing water to seep in.
- Failing Flashing: The metal strips around chimneys, skylights, and vents can rust, loosen, or crack, breaking the watertight seal.
- Nail Pops: Nails that back out of the roof deck can lift shingles, creating small entry points for water.
- Clogged Gutters: When gutters overflow, water backs up and seeps under the shingles, especially at the roof's edge.
- Cracked Sealant: Caulk around roof penetrations can dry out and fail under Arizona's intense sun.
What are the signs of a minor roof leak?
The signs can be subtle at first, but they escalate quickly. We always advise homeowners in Phoenix, Mesa, or Scottsdale to be vigilant, especially after a heavy rain.
- Inside Your Home: Look for water stains on ceilings and walls, visible drips, musty odors, or sagging drywall.
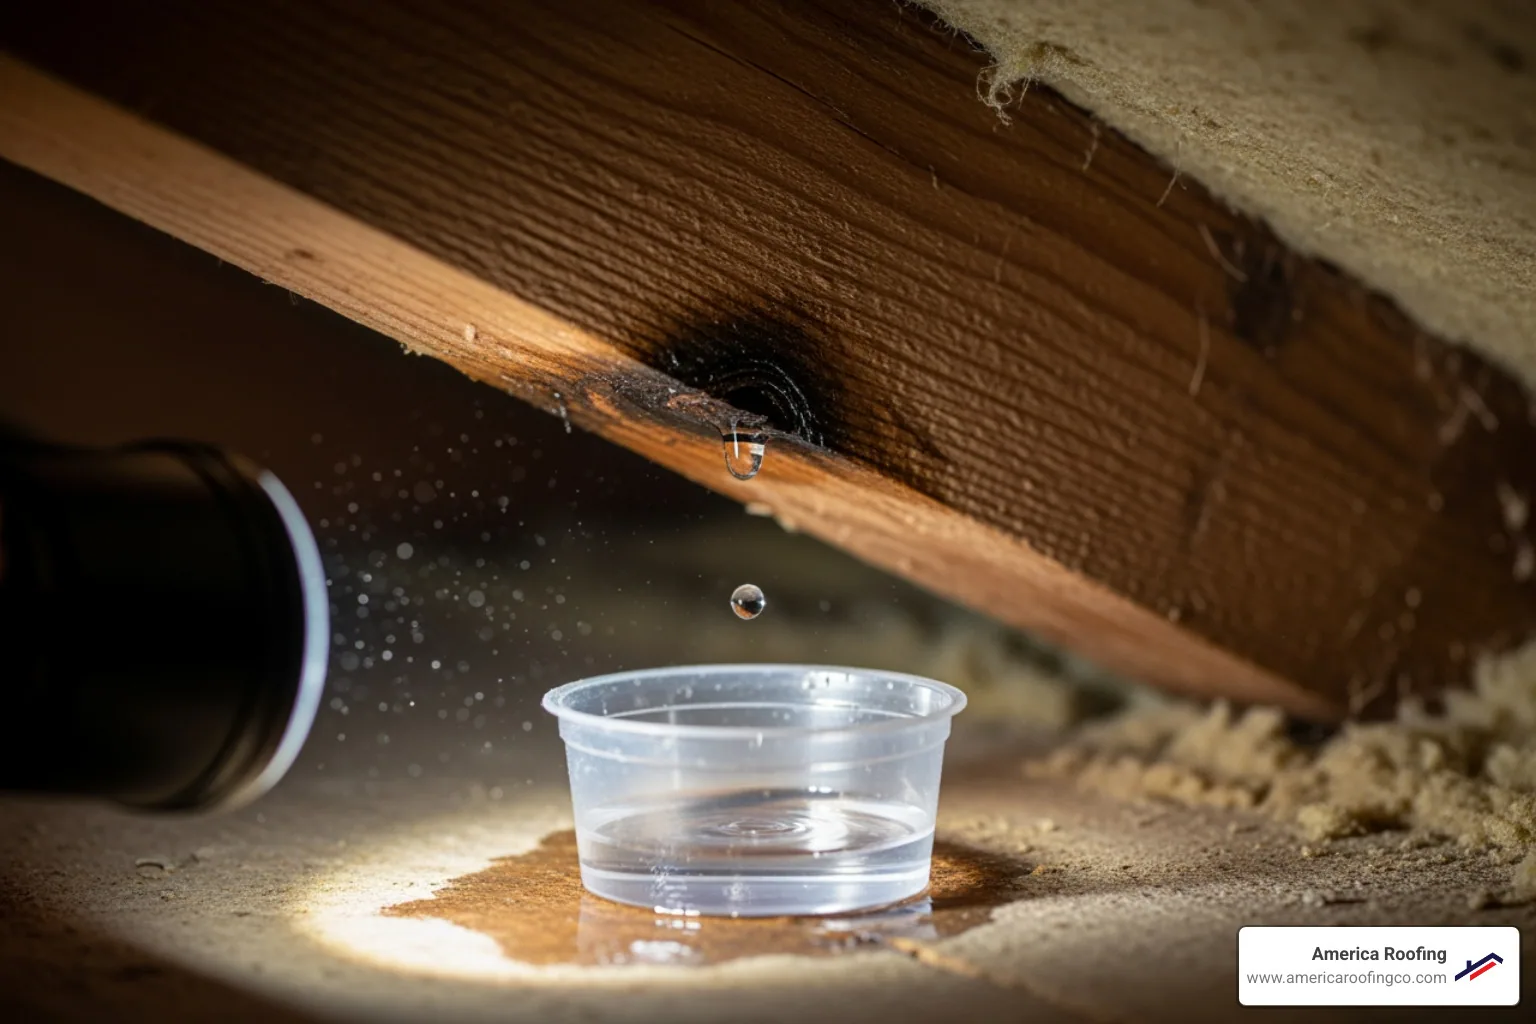
- In the Attic: This is often the best place to find the source. Use a flashlight to look for water trails, dark spots on the wood, damp insulation, or mold.
- On the Roof (from the ground): Use binoculars to spot missing or damaged shingles, cracked vent boots, or rusted flashing.
If you're uncomfortable or unsure about any part of the inspection, especially climbing onto the roof, it's always best to call a professional.
Gearing Up: Essential Tools and Materials
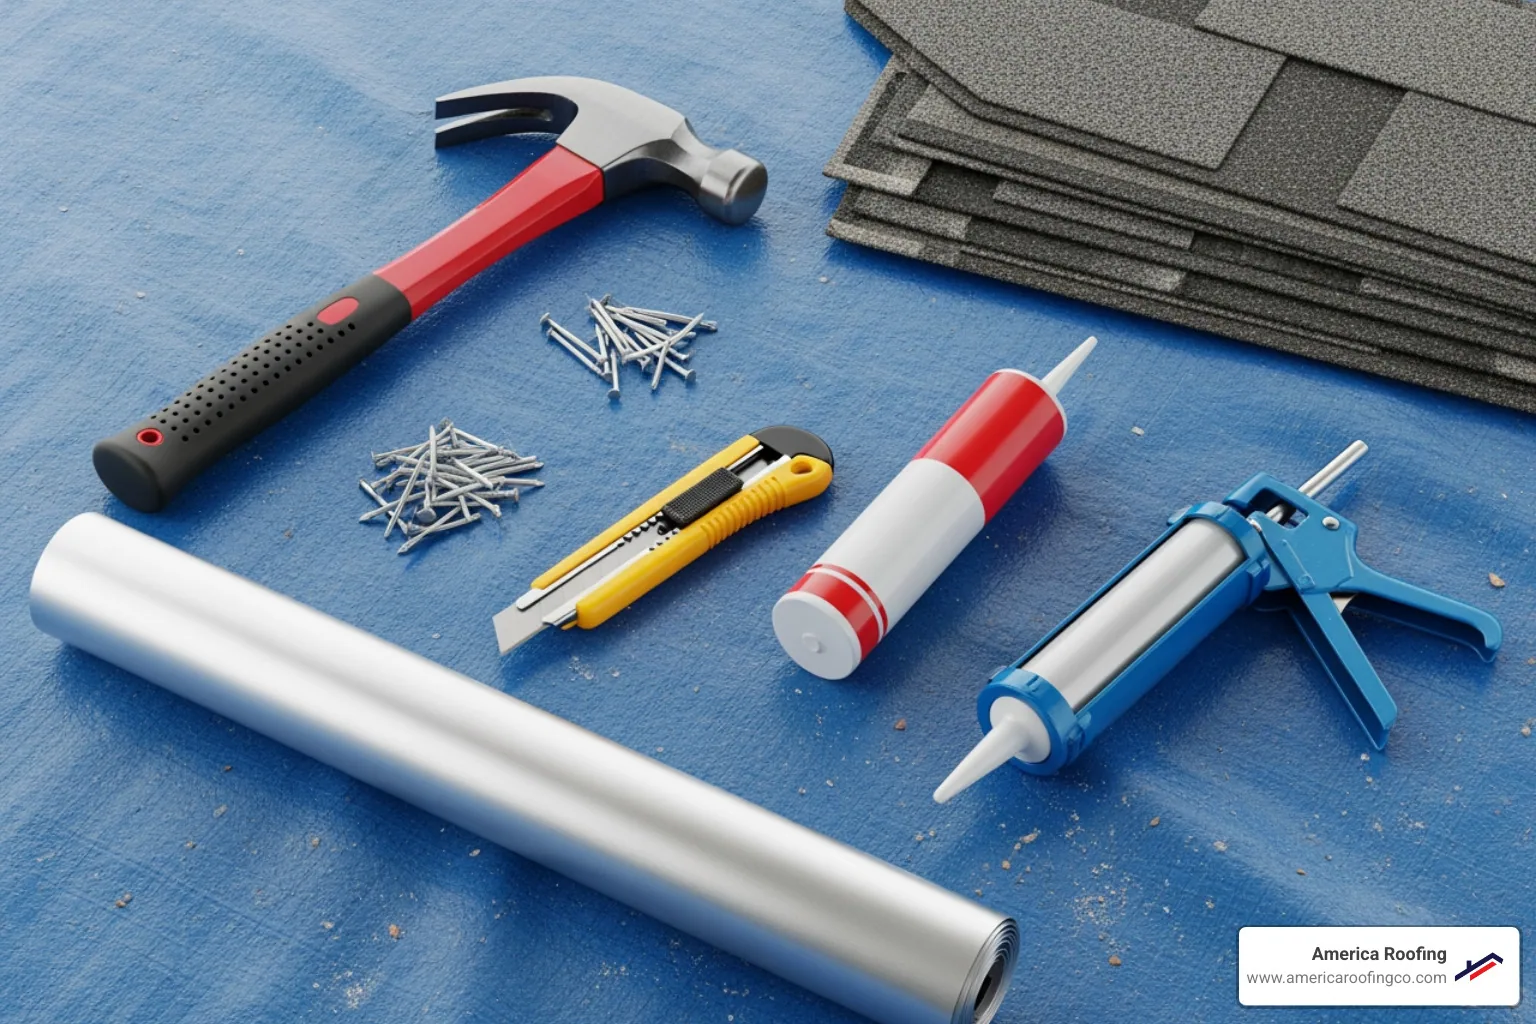
Preparing for a minor roof leak repair means having the right equipment. For simple DIY fixes on an accessible, low-pitch roof, here’s what you’ll likely need:
- Pry Bar
- Hammer & Roofing Nails
- Utility Knife
- Caulking Gun & Roof Sealant/Cement
- Sturdy Ladder
- Safety Harness (PFAS)
- Non-slip Shoes
- Replacement Shingles or Flashing
- Gloves
A Homeowner's Guide to Minor Roof Leak Repair
Alright, you’ve found the likely culprit and gathered your gear. Now for the main event. These steps are for small, manageable issues on single-story homes with a low-pitched roof. If you're ever in doubt, it's always safer to call a professional.
Step-by-Step: Fixing Shingles, Vents, and Flashing
Before you start, ensure the weather is dry and calm. Working on a wet or windy roof is extremely dangerous.
1. Replacing a Damaged Shingle:
- Remove: Gently lift the shingle above the damaged one and use a pry bar to carefully remove the nails. Slide the old shingle out.
- Prepare: Scrape away old cement and check the roof deck for damage. If the wood is soft or rotted, stop and call a professional.
- Install: Slide the new shingle into place, aligning it with the surrounding ones.
- Secure: Lift the overlapping shingle and fasten the new one with roofing nails just below the tar strip. Cover the nail heads with a dab of roof cement.
2. Sealing a Damaged Vent Boot:
- Inspect: Check the rubber gasket around the pipe for cracks or deterioration.
- Seal Minor Cracks: For small cracks, clean the area and apply a high-quality, waterproof silicone-based caulk.
- Replace if Needed: If the boot is severely cracked or rotted, it needs replacement. This involves removing the surrounding shingles, replacing the boot, and reinstalling the shingles. This is often a job best left for a pro.
3. Repairing Flashing Problems:
- Reseal Loose Flashing: If flashing is just loose, apply a bead of roof cement under it and press it down firmly. Seal any exposed nail heads.
- Replace Damaged Flashing: Rusted or bent flashing must be replaced. This is an advanced repair that involves removing shingles, cutting and fitting new metal, and sealing everything correctly.
4. Patching Nail Holes:
- For small punctures, slip a small piece of metal flashing under the shingle.
- Apply roof cement over the hole and under the shingle to create a watertight seal.
For more detailed guidance on a variety of fixes, you can explore DIY solutions that cover various temporary and permanent repair methods.
Safety First: Your Checklist for Working on the Roof
We can't emphasize this enough: safety is paramount. Falls are a serious risk for anyone working on a roof.
- Check the Weather: Only work on a dry, calm day.
- Use a Sturdy Ladder: Place it on level ground and extend it 3 feet above the roofline.
- Three Points of Contact: Always keep two hands and one foot, or one hand and two feet, on the ladder when climbing.
- Wear Non-Slip Shoes: Good traction is essential.
- Use a Safety Harness (PFAS): This is crucial for any roof with a pitch.
- Have a Spotter: A second person on the ground can help and call for assistance if needed.
- Clear the Area: Remove debris from your workspace.
- Avoid Power Lines: Be aware of your surroundings.
- Know Your Limits: If you're unsure, call a professional. Your safety is not worth the risk.
For more comprehensive safety guidelines, we recommend reviewing resources like these from OSHA's safety regulations.
When to Call a Professional Roofer
Knowing your limits is the mark of a smart homeowner. While a DIY fix can be satisfying, some jobs are best left to those with the training, tools, and insurance to do the job safely and correctly. It’s always better to be safe than sorry.
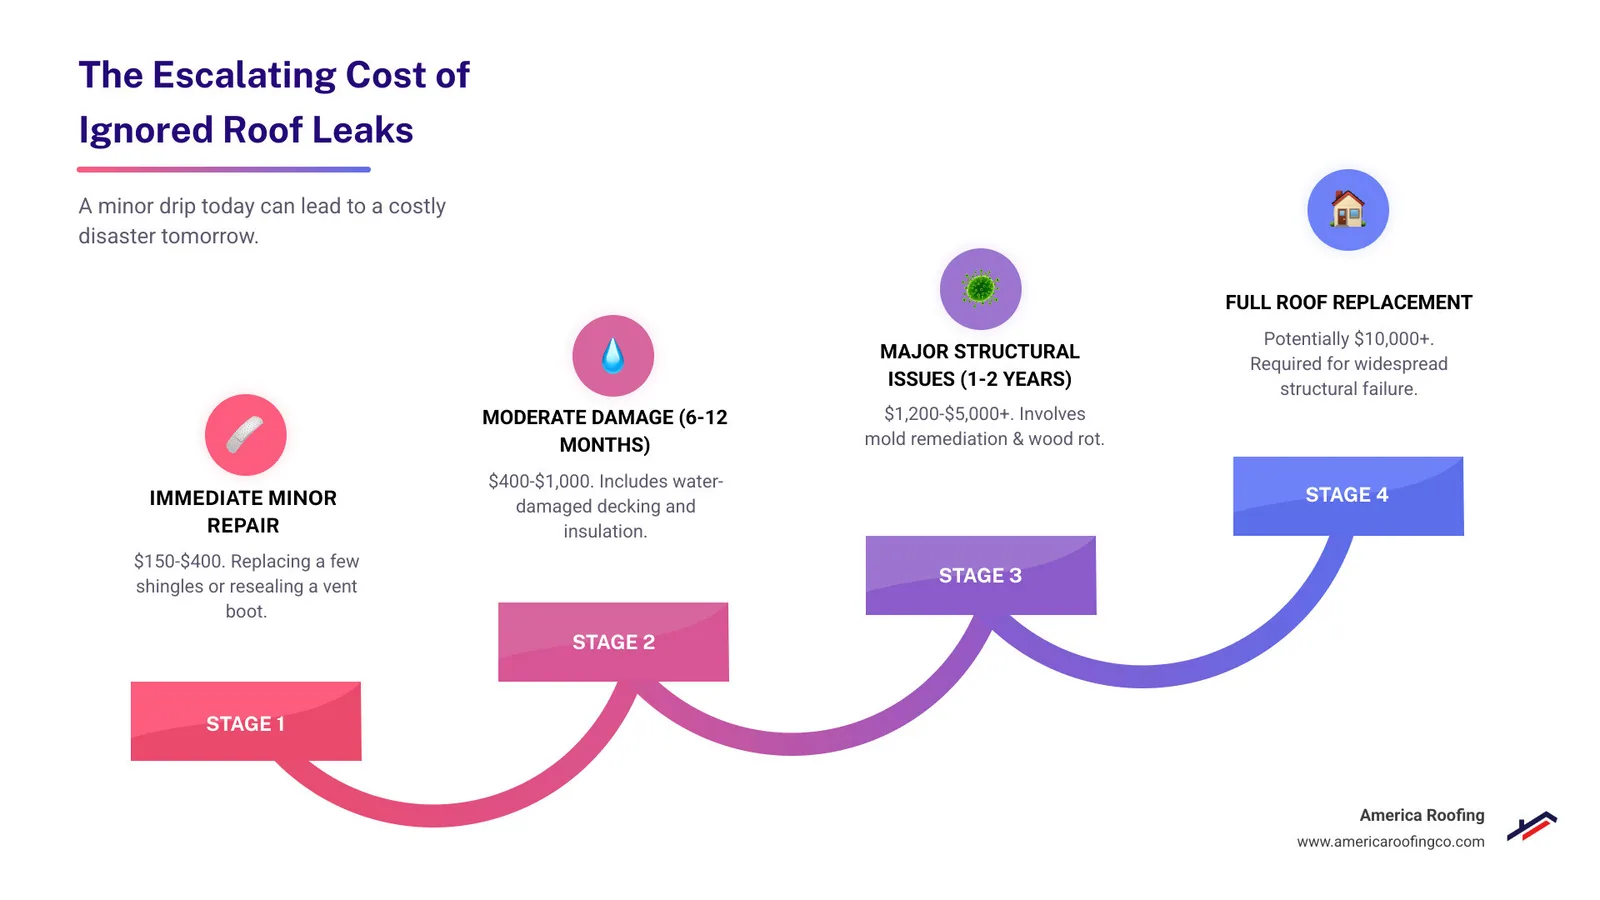
The Real Cost of Ignoring a "Minor" Leak
That "minor" drip is a warning sign. Ignoring it is one of the costliest mistakes a homeowner can make. We’ve seen it countless times in Phoenix and Mesa: a small leak that could have been fixed for a few hundred dollars turns into thousands in damages.
What are the consequences of ignoring a roof leak?
- Structural Damage: Water rots the wood decking and support beams of your roof, compromising its integrity.
- Mold and Mildew: Trapped moisture creates a perfect breeding ground for mold, which can cause health issues and require expensive remediation.
- Damaged Insulation: Wet insulation loses its effectiveness, leading to higher energy bills.
- Interior Damage: Water can ruin ceilings, walls, and personal belongings, often costing more to fix than the roof itself.
The cost of delay is significant. A small leak can quickly escalate, as shown below:
| Severity of Leak | Average Repair Cost | Potential Damages if Ignored |
|---|---|---|
| Minor Leak (Immediate Repair) | $150 - $400 | Minimal interior damage, if any. Prevents future issues. |
| Moderate Leak (Delayed 6-12 months) | $400 - $1,000 | Water-stained ceiling, damaged insulation, early-stage wood rot. |
| Major Leak (Ignored 1-2+ years) | $1,200 - $5,000+ | Severe structural damage, extensive mold, ceiling/wall replacement. |
Why Calling a Pro Can Save You Money and Headaches
When should you put down the caulk gun and pick up the phone? Call a professional if you see:
- Widespread or Multiple Leaks: This could indicate a systemic problem.
- A Steep Roof Pitch: This is extremely dangerous without professional safety equipment.
- Signs of Structural Damage: A sagging roofline or soft spots are red flags.
- You Can't Find the Source: Professionals have the tools and experience to find hidden leaks.
A DIY repair might also void your roof's warranty. For homeowners in Phoenix, Mesa, Chandler, and across the Valley, a professional assessment is crucial. The intense sun and monsoon season require specific materials and techniques. At America Roofing, we've been a trusted, family-owned business since 1999, specializing in repairs that stand up to the Arizona climate. We provide honest, no-pressure advice and ensure every job is done right.
Don't let a small leak become a big disaster. If you're in Phoenix, Scottsdale, Gilbert, Peoria, Tempe, Surprise, Goodyear, or anywhere in between, get a professional estimate for your roof repair and protect your home.