

Quick Action Steps: Stop the Leak Fast
When you spot a water stain spreading across your ceiling or hear the dreaded drip, drip, drip during a monsoon, you need a leaking flat roof quick fix right now. A temporary patch can stop the water, protect your belongings, and buy you time to arrange a professional repair. Here's what you can do immediately to minimize damage and regain control.
If you're facing an active leak, here's your immediate game plan:
- Contain the water indoors - Place buckets under drips, use towels to soak up pooling water, and move furniture away from the affected area.
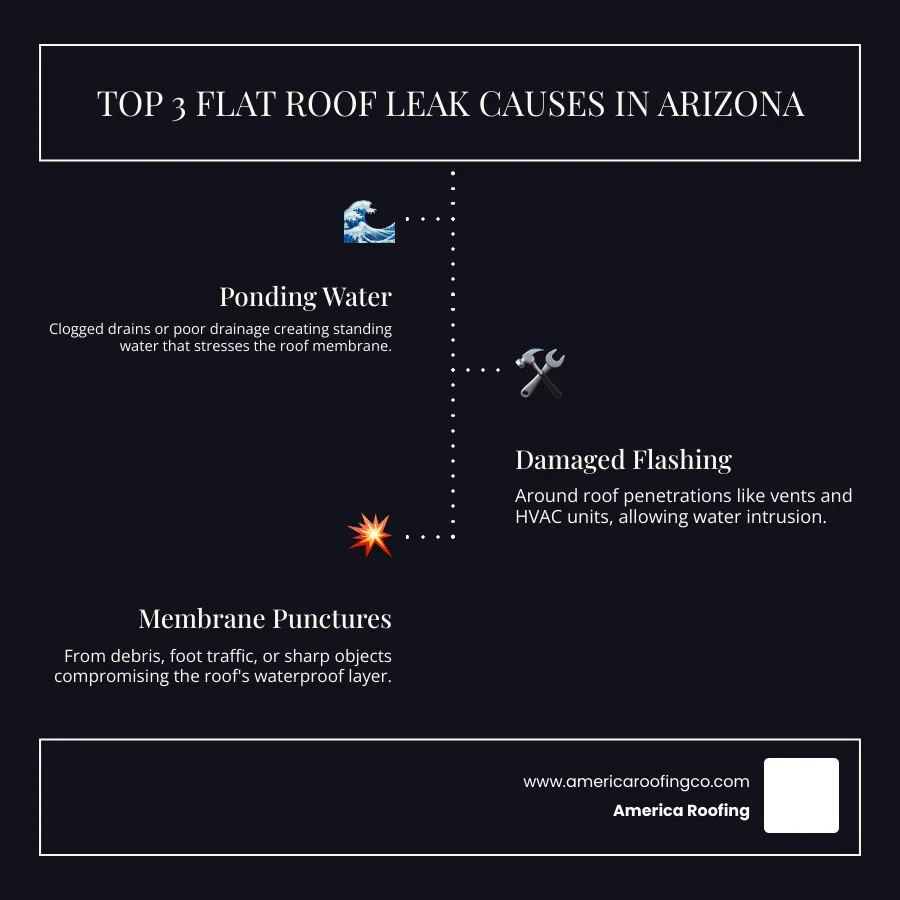
- Locate the leak source - Check your flat roof for ponding water, damaged flashing around vents or HVAC units, visible cracks, or punctures in the membrane.
- Clean and dry the damaged area - Remove debris with a stiff brush and ensure the surface is completely dry before applying any repair material.
- Apply roofing cement and a patch - Spread a 1/8" layer of roofing cement over the leak, embed a fiberglass mesh patch (for larger damage), and seal the edges with caulk or waterproof sealant.
- Allow proper curing time - Most sealants need 24-48 hours of dry conditions to set properly.
Important: These are temporary fixes. Arizona's intense sun, monsoons, and extreme temperature swings mean a professional inspection is essential for a lasting solution.
When we talk about a leaking flat roof quick fix, we're focusing on immediate, actionable steps you can take to prevent a small problem from becoming a catastrophic one. Think of it as first aid for your roof. We also want to empower you with knowledge about commercial roof repair solutions, how to fix a hole in the roof, and even manage a minor roof leak repair.
First Response: Damage Control & Leak Detection
A roof leak is one of those things that catches you off guard. One moment, everything’s fine — the next, there’s water dripping from your ceiling. Our first priority is always to mitigate the damage inside your home, as water can lead to structural issues, ruined insulation, and health hazards like mold.
Immediate Steps to Minimize Indoor Damage
When you find water coming through your ceiling, the first thing to do is contain it. Honestly, it sounds simple, but it's crucial.
- Grab buckets and towels: Place containers directly under the drip and lay down old towels to catch splashes. This buys you precious time.
- Move valuables: Quickly relocate furniture, electronics, and other belongings away from the affected area.
- Relieve ceiling pressure (if necessary): If you see a bulge in your ceiling, water is pooling above. Gently puncture the center of the bulge with a screwdriver to allow the water to drain into a bucket, preventing a sudden and dangerous ceiling collapse.
- Bring in dehumidifiers: Once the dripping is controlled, use fans or dehumidifiers to dry the area. This helps combat mold and mildew, which can start growing within 24 to 48 hours.
These steps control the immediate crisis, preventing further damage while you find the source. For more tips, see our guide on Emergency Roof Repairs: DIY Fixes and When to Call the Pros. You know what? Spending 10–15 minutes on this “indoor triage” can save you thousands in repairs later.
How to Pinpoint the Leak's Source on a Flat Roof
Now for the detective work: finding the leak on your roof. Here’s the thing: water can travel more than 10 feet from where it enters before you see it dripping inside. This means the drip in your living room might be coming from a problem area several feet away.
- Interior Clues and Mapping: Start by identifying the interior stain. Measure its distance from two perpendicular walls, then transfer these measurements to your roof to get a general search area. Always inspect upslope from this point, as water flows downhill.
- Exterior Inspection – Common Trouble Spots:
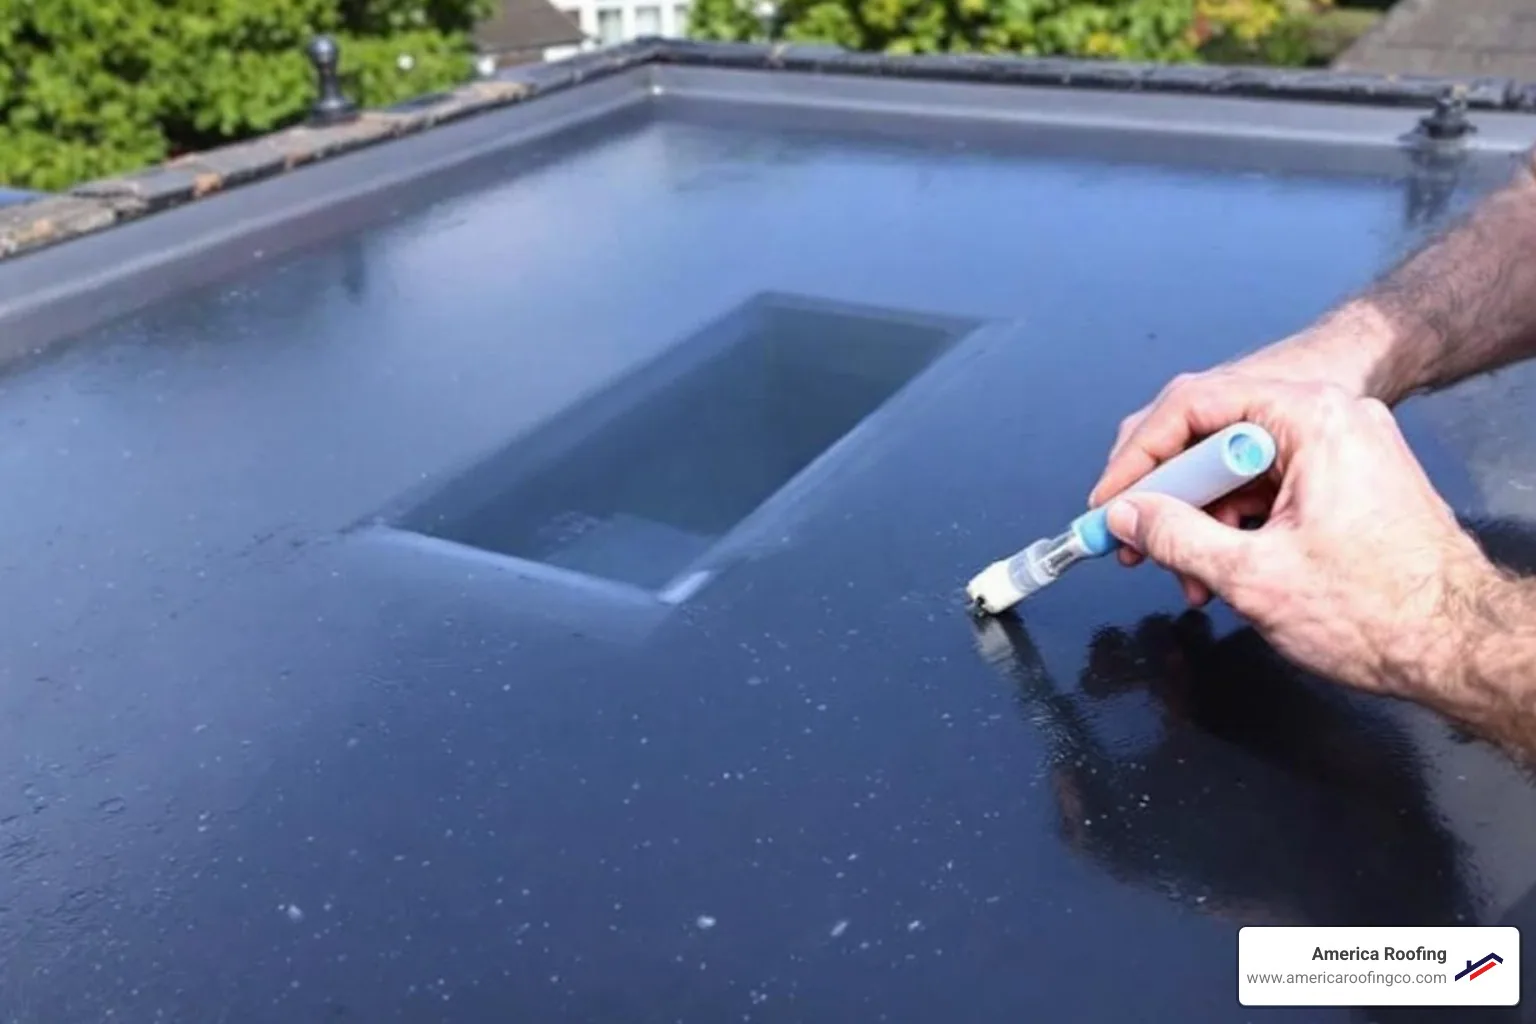
- Ponding Water: If drains are clogged, water can pool and weaken membranes. After an Arizona monsoon, clear any debris trapping water.
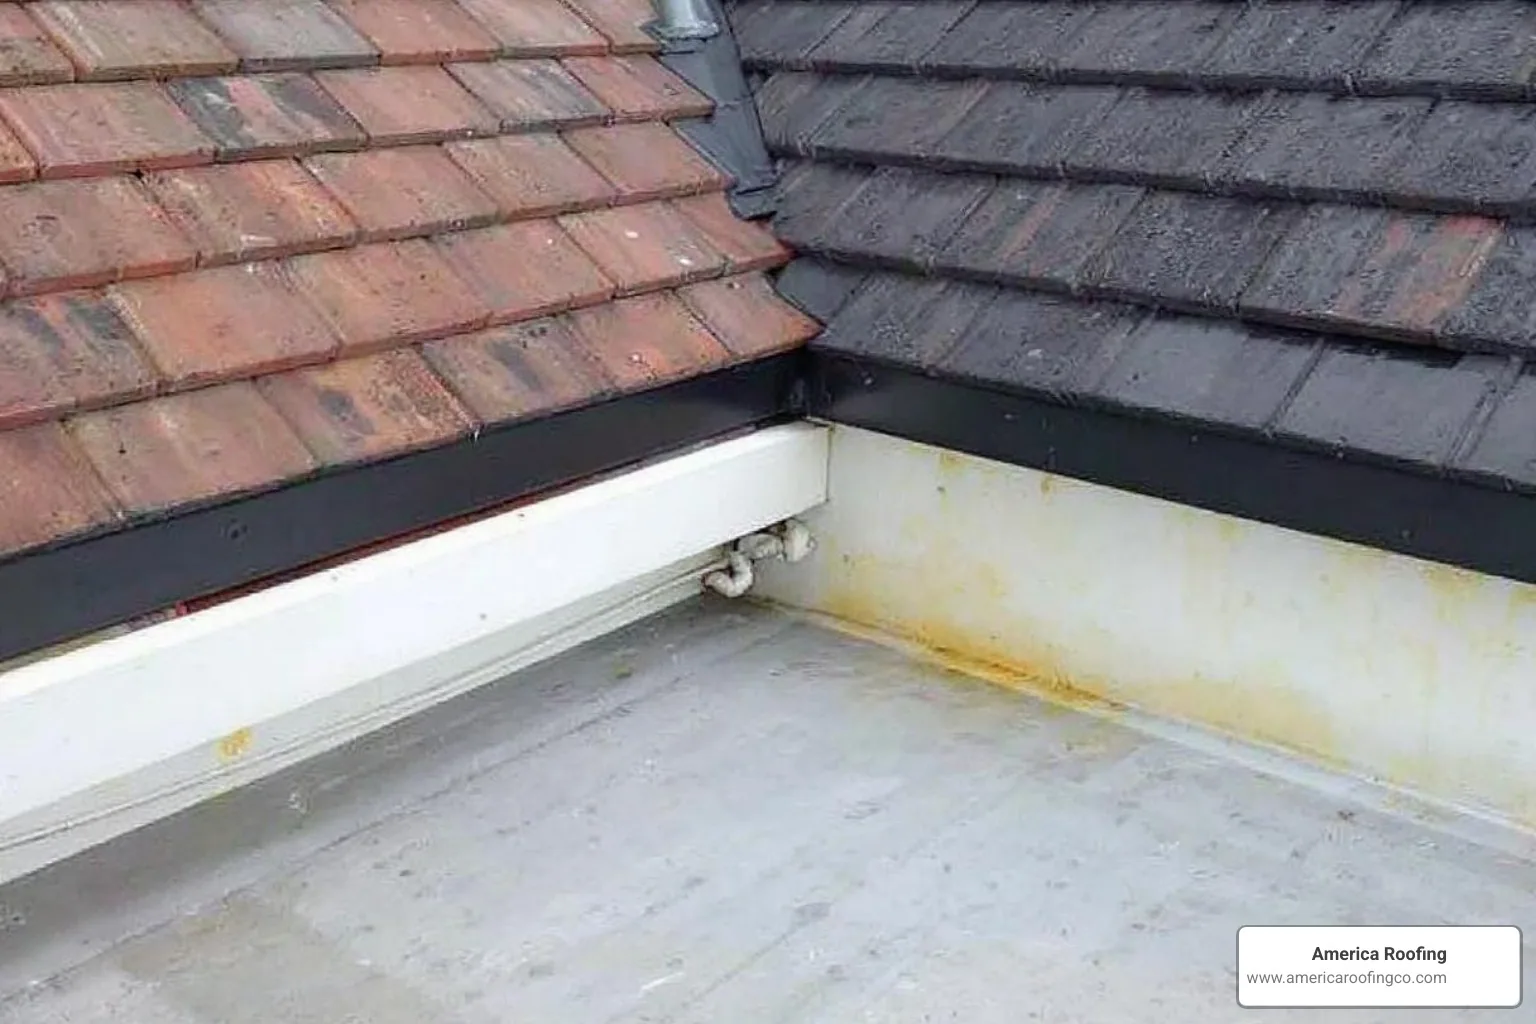
- Damaged Flashing: This is a major culprit. Flashing seals edges around vents, chimneys, and HVAC units. Look for cracks, separations, or corrosion.
- Membrane Seams: Flat roofs are made of seamed material sheets (EPDM, TPO, etc.). Over time, these seams can separate.
- Punctures and Cracks: Hail, debris, foot traffic, or UV exposure can cause small punctures or cracks in the membrane.
- Clogged Drains/Scuppers: Ensure drains and scuppers (openings in the parapet wall) are clear to prevent ponding.
- The Hose Test: If the leak isn't obvious, a hose test can be effective. With a helper inside, run water over small sections of your roof, starting low and working up. Have your helper alert you when water appears inside to pinpoint the location.
Understanding these common causes is the first step in an effective repair.
To make this detective work easier during a stressful monsoon night, here’s a quick comparison of what you might see and what it usually means:
| What You Notice Inside | Likely Roof Issue | What to Check Outside |
|---|---|---|
| Single small drip near a wall | Minor puncture or seam gap | Membrane seams and small cracks upslope from the drip |
| Wide, spreading stain on ceiling | Prolonged seepage | Large ponding areas or multiple small punctures |
| Bulging ceiling area | Significant trapped water | Major ponding or blocked drains/scuppers |
| Repeated leak in same spot after storms | Ongoing flashing or drainage problem | Flashing around penetrations and roof edges |
If mapping and visual inspection still leave you unsure, that’s a strong sign to bring in a licensed Arizona roofer who knows how flat roofs behave in our heat and monsoons.
Your Guide to a Leaking Flat Roof Quick Fix
Once you’ve identified the leak source, it’s time to apply that temporary leaking flat roof quick fix. Safety first! We can't stress this enough. Working on a roof, especially a wet or damaged one, carries risks.
Essential Tools and Materials for a Temporary Fix
Having the right gear on hand makes all the difference. Here’s a list of essentials for a temporary flat roof repair:
- Safety Gear: Non-slip shoes, safety gloves, and a sturdy ladder. If you're not comfortable on a ladder or the roof, please don't risk it. That's when you call us.
- Cleaning & Prep Tools: A stiff-bristled brush or broom and a utility knife or scissors.
- Repair Materials:
- Roofing cement (trowel-grade)
- Fiberglass mesh patch (for larger damage)
- Waterproof sealant or caulk (acrylic or silicone-based)
- Peel-and-stick flashing tape
- Trowel or putty knife
- Caulking gun
- A Note on Materials: For specific roof types like EPDM, TPO, or PVC, ensure you use a compatible sealant. For example, avoid petroleum-based products on EPDM rubber roofs.
While some temporary fixes are DIY-friendly, there's a big difference between a patch and a long-term solution. For more, check our article on DIY vs. Professional Roof Repairs: Pros and Cons.
Here’s a simple way to match your situation with the right material:
| Roof Issue | Quick Fix Material | Notes |
|---|---|---|
| Hairline crack | Waterproof sealant/caulk | Smooth with finger or putty knife for tight seal |
| Small puncture | Peel-and-stick flashing tape | Works best on very clean, dry surfaces |
| Tear up to 2 inches | Roofing cement | Extend at least 6 inches beyond damage |
| Larger tear or split | Roofing cement + fiberglass mesh | Acts like a reinforced bandage over the weak spot |
Step-by-Step: Applying a Temporary Leaking Flat Roof Quick Fix
Okay, you've got your tools and you've found the leak. Let’s get this temporary patch applied. The goal here is to stop the water now.
- Clean the Area Thoroughly: This is the most important step. Your patch needs a clean, dry surface to adhere. Sweep away all loose debris, dirt, and leaves. If the area is damp, you must let it dry completely. Most sealants require dry conditions and temperatures between 50-85°F to cure.
- Prepare the Surface (Optional): For some materials like EPDM, applying a compatible primer can significantly improve adhesion. Follow the product's instructions.
- Apply Roofing Cement or Sealant:
- For small cracks: Squeeze a generous bead of waterproof sealant directly into the crack and smooth it out.
- For larger cracks (up to 2 inches): Apply a 1/8-inch thick layer of roofing cement over the area, extending at least 6 inches beyond the damage.
- For wide tears: Apply a base layer of roofing cement. Cut a piece of fiberglass mesh, embed it into the wet cement, and then apply a second layer of cement over the mesh, completely covering it and feathering the edges.
- Consider Peel-and-Stick Flashing Tape: For a really quick fix on a clean, small tear, press flashing tape firmly over the damage. It's not as robust as cement but can provide an immediate seal.
- Allow for Proper Curing: Give your patch 24-48 hours to dry and cure, depending on the product and weather. Avoid putting pressure on the patched area during this time.
As Forbes Home Improvement notes, when you need to temporarily fix a flat roof, acting quickly can prevent significant damage. These methods are designed to buy you time until a professional can provide a permanent repair.
You know what? Even if your DIY patch looks a little rough, a clean, well-sealed temporary repair is far better than letting water keep pouring into your home.
Beyond the Quick Fix: When to Call the Pros
While a leaking flat roof quick fix can save your day (and your ceiling!), it’s crucial to understand its limitations. These are temporary bandages, not permanent cures. The unique challenges of flat roofs, especially in a climate like Arizona's, often demand expert attention.
Signs Your Roof Needs More Than a Temporary Leaking Flat Roof Quick Fix
How do you know when your DIY efforts have reached their limit? Recognizing these signs early can save you significant time, money, and stress:
- Persistent Leaks: If your patch fails or new leaks appear, the problem is more widespread or complex than a simple fix can handle.
- Large Tears or Multiple Leaks: A single small puncture might be a temporary DIY, but extensive damage indicates a compromised membrane.
- Sagging Roof Deck: If you notice sagging or soft spots, it points to water damage to the structural decking. This is a serious issue that requires immediate professional assessment.
- Widespread Blistering or Cracking: Widespread bubbling or cracking suggests the entire membrane is deteriorating from age or UV exposure.
- Roof Age: Most flat roofs last up to 25 years. If yours is approaching 20 years, repairs might be a diminishing return. The National Roofing Contractors Association (NRCA) suggests replacement if repair costs exceed 50% of the replacement cost.
- Extensive Water Damage Inside: If you're seeing large water stains or mold growth inside, the damage is likely beyond what a quick fix can address.
If you see these signs, it's time for a professional solution. Our Flat Roof Repair Arizona Guide can help you understand your options, and you can learn more about when to replace with our 5 Signs It's Time to Replace Your Roof.
To help you decide what to do next, here’s a quick comparison:
| Situation | DIY Quick Fix OK? | Time to Call a Pro? |
|---|---|---|
| One small, new leak after a storm | Yes, as a short-term patch | Call if it returns or spreads |
| Multiple leaks in different rooms | Risky to rely on DIY | Yes, likely systemic damage |
| Older flat roof (20+ years) with recurring issues | Limited value in patching | Strongly recommended |
| Noticeable sagging or soft spots | No – safety risk | Immediate professional inspection |
The Importance of Professional Repairs and Maintenance
The truth is, even the best quick fix is temporary. For true peace of mind, professional intervention is indispensable. Here’s why:
- Lasting Solutions: Professionals use commercial-grade materials and specialized tools to provide durable, warrantied repairs designed to withstand Arizona's harsh climate.
- Addressing Root Causes: A professional inspection goes beyond the visible leak to identify underlying issues like poor drainage or compromised insulation. Good maintenance can cut life-cycle costs by roughly 40%, a statistic backed by the National Roofing Contractors Association.
- Preventing Future Leaks: Beyond fixing the problem, we can implement preventative measures like regular inspections, clearing debris, and applying reflective coatings to extend your roof's life.
- Expertise and Safety: Working on a damaged roof is dangerous. Our licensed and insured professionals (ROC#186438) have the training and safety equipment to perform repairs safely. As a third-generation, family-owned company established in 1999, we know Arizona roofs.
Investing in professional roof repair protects your biggest asset. Learn more in our guide, Roof Repair and Maintenance: A Guide by America Roofing.
While a quick fix can be a lifesaver, it's not a permanent solution, especially with Arizona's extreme weather. For a thorough inspection and a lasting repair from a trusted, local expert, call America Roofing at 602-237-2478 or Request a Free Quote today so you can stop worrying about the next storm and get back to enjoying your home.