

The crew has installed the last tile, shingle, metal panel, or coating, and the property looks finished. Before a Phoenix or Tucson homeowner releases final payment, a new roof installation punch list for homeowners should verify more than appearance. It should confirm workmanship, drainage, cleanup, records, and what happens when the first monsoon rain arrives.
Ground Rules for the Final Roof Walkthrough
The final walkthrough is the homeowner's last practical opportunity to identify unfinished work while the roofing contractor still controls the correction process. It should happen from the ground, the eaves, accessible interior spaces, and the property perimeter. Homeowners shouldn't climb onto a newly installed roof, walk on tile, approach fragile edges, or enter areas that require specialized safety equipment.
Use binoculars, a phone camera with a zoom function, and a written checklist. Walk the property slowly in daylight, taking wide photos that show the roof section and closer photos that show the issue. Record the location, such as “north slope above the garage,” rather than writing only “flashing problem.”
Separate quality control from cosmetic cleanup
A quality-control defect can affect water resistance, wind performance, durability, code compliance, or the manufacturer's warranty. Examples include:
- Flashing concerns: Missing or visibly discontinuous step flashing at sidewalls, loose counter-flashing, open seams around penetrations, or heavy reliance on exposed roofing cement where a proper flashing assembly is required.
- Water-shedding concerns: Damaged tiles, inconsistent shingle courses, exposed fasteners, questionable underlayment transitions, blocked drainage paths, or open edges.
- System concerns: Missing ventilation components shown in the contract, incomplete coating coverage, visible membrane seams that haven't been finished, or accessories that don't match the agreed scope.
A cosmetic punch-list item still belongs in the closeout record, but it carries a different priority. Minor sealant touch-up, slight ridge-cap alignment, paint transfer, and leftover debris should be documented without allowing those issues to distract from flashing, drainage, fastening, or underlayment concerns.
Practical rule: A clean-looking roof can still have a serious transition defect. Prioritize the parts that control water and wind before judging small appearance issues.
A structured inspection sequence can help homeowners understand the difference between visible condition, documentation, and limitations. The For The Public Adjusters inspection guide also provides useful context for organizing property observations and records. For a more technical review, homeowners can arrange a roof inspection in Arizona rather than attempting a roof climb.
Visible Material and Edge Alignment Checks
Start at the street, then move around the home and inspect each roof plane from several angles. Arizona roofs commonly use concrete or clay tile, asphalt shingles, metal, foam, coatings, and other low-slope assemblies. Each system has different visual indicators, so the contract and approved material list matter more than a generic photograph.
On a tile roof, look for broken, slipped, cracked, or visibly rocking tiles. Tile lines should appear reasonably consistent, and field tiles shouldn't leave unexplained gaps. A few variations may reflect the material profile, but displaced pieces, exposed underlayment, or damaged edges should be recorded for correction.
On a shingle roof, check whether courses appear straight and whether shingle exposure remains reasonably consistent across the visible field. Look for lifted corners, missing starter material, exposed fasteners, irregular ridge caps, and dark areas that could indicate incomplete coverage. Metal roofing deserves a different review. Panels should follow consistent lines, trim should sit securely, and exposed fasteners, seams, closures, and edge metal should match the specified system.
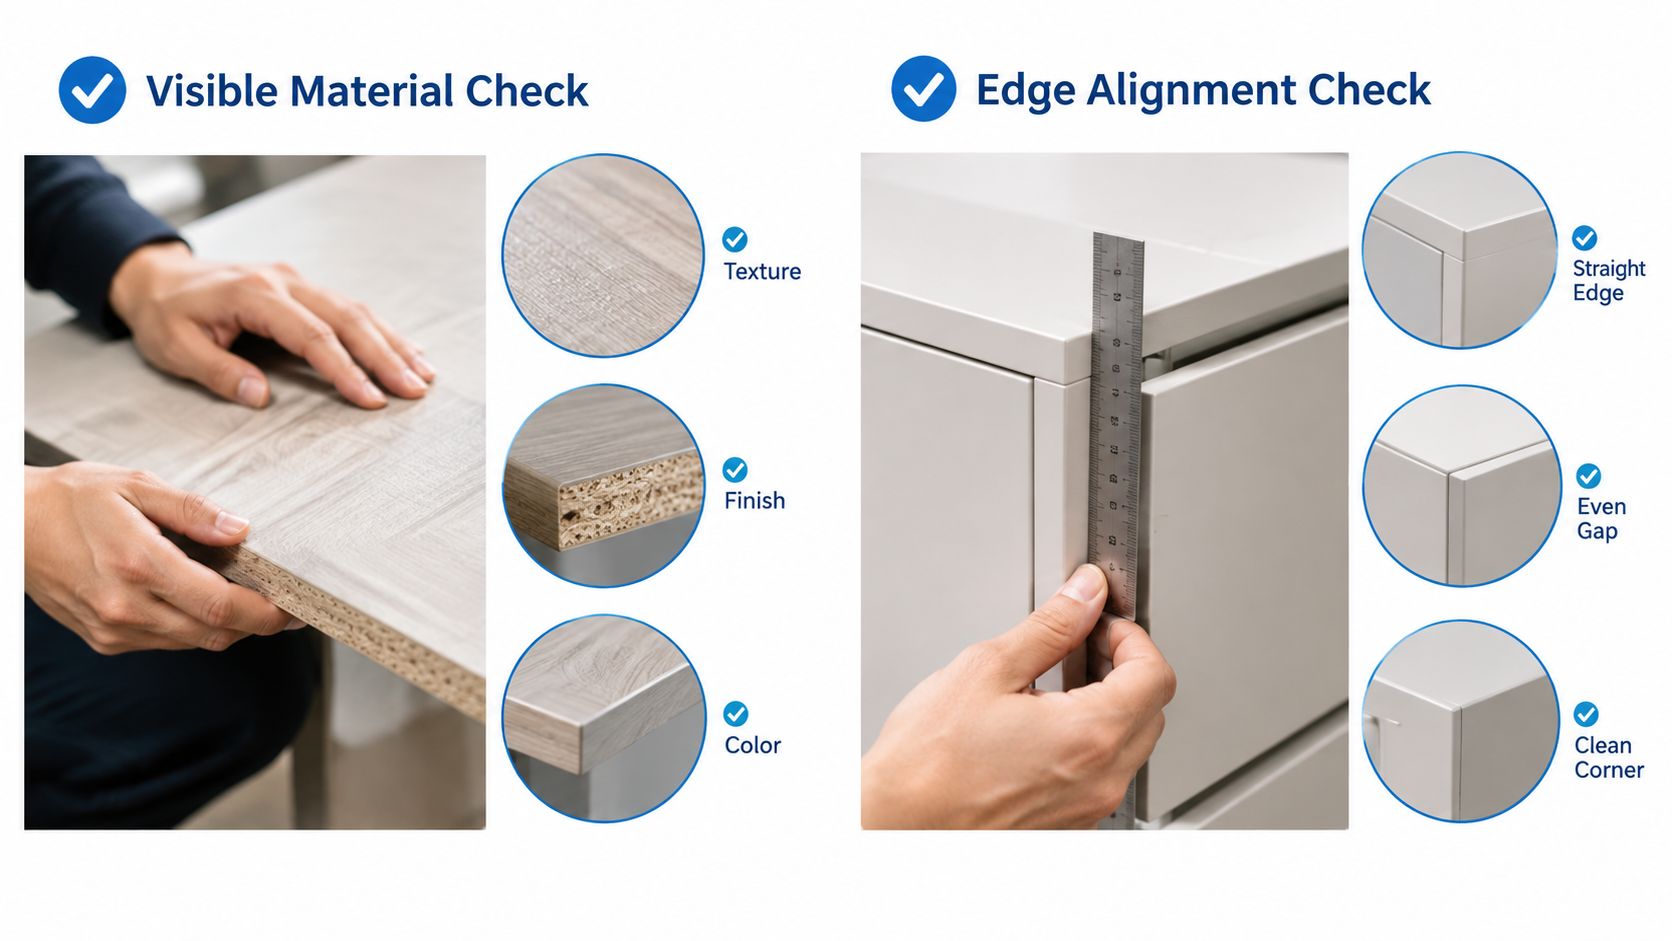
Focus on edges and eaves
Roof edges handle wind exposure and direct runoff into gutters or away from walls. From the eave, check for a continuous-looking drip edge where the contract calls for one, secure fascia transitions, properly reattached gutters, and downspouts that discharge where they're intended to discharge. A sagging gutter, open corner, or displaced downspout can turn a completed roof into a drainage problem.
Low-slope, foam, and coated roofs require attention to surface continuity, drains, scuppers, parapet edges, and coating coverage. The homeowner doesn't need to walk the membrane to notice a blocked drain, open edge, or obvious uncoated strip from a safe vantage point.
Arizona heat and ultraviolet exposure make material selection and ventilation relevant closeout questions. Local guidance notes that dark roof surfaces can exceed 160 to 180°F during 110°F afternoons, so homeowners should confirm that the installed materials, coatings, and ventilation approach match the project specifications. See the signs of a bad roof installation if visible irregularities suggest more than a small finishing issue.
Flashing Penetrations and Interior Leak Indicators
Roof leaks often begin where one material meets another. Chimneys, skylights, plumbing vents, sidewalls, valleys, roof-to-wall transitions, and rooftop curbs deserve closer attention than the middle of an otherwise uniform roof field.
From the ground or a safe eave-level position, use binoculars to inspect whether flashing appears continuous and properly integrated with the roof covering. Step flashing at a sidewall should appear layered with the roof courses rather than replaced by a broad smear of exposed cement. Counter-flashing should cover the upper edge where appropriate, and plumbing vent boots should sit tightly around the pipe without visible splitting or gaps.
For chimneys and masonry transitions, look for open joints, loose metal, lifted edges, or sealant that has pulled away. Homeowners comparing visible conditions with a contractor's explanation may also find this resource on how to fix chimney flashing leaks useful for understanding why chimney transitions need more than surface patching.
Check the attic without turning it into a roof inspection
An attic check can reveal a missed water path, but it doesn't replace a professional roof inspection. During daylight, use a flashlight and look from the attic floor or another stable location. Don't crawl across insulation, step between framing members, touch wet electrical components, or move through an unsafe space.
Look for fresh staining, damp wood, daylight visible through areas that should be sealed, disturbed insulation, or water marks below valleys and penetrations. A stain doesn't prove that the new roof caused the problem, and a dry attic doesn't prove that every exterior detail is correct. Weather, timing, and access limitations matter.
Document findings with the date, location, and a photo. If moisture is present, avoid disturbing the area and notify the contractor promptly. A written report that identifies what checks during inspections should include limitations, visible deficiencies, and recommended next steps rather than a vague statement that the roof “looks fine.”
Property Cleanup Documentation and Permit Closeout
Roof replacement closeout has two sides. The property must be safe and orderly, and the project file must show what was installed, changed, inspected, and registered. Neither side should be treated as an afterthought.
Walk the driveway, walkways, patios, landscaping borders, pool-deck areas, and locations where materials were staged. Ask for a magnetic nail sweep across accessible ground surfaces, but still inspect visually because a magnet won't remove every sharp fragment or piece of packaging. Check gutters for granules, tile fragments, fasteners, and dust, then confirm that downspouts remain connected and discharge correctly.
The homeowner should also photograph the finished roof from the ground before temporary items disappear. Include roof planes, edges, penetrations, gutters, visible accessories, and any agreed repair area. If the work involved a change order, deck repair, upgraded ventilation, replacement flashing, or a coating system, the records should identify that change clearly.
Construction cleanup can involve dust on windows, screens, patios, and exterior surfaces. A practical South Mountain Window Cleaning cleaning guide can help separate ordinary post-construction residue from roofing debris that still needs contractor attention.
Keep one closeout file
The following table gives each record a job, not just a place in a folder.
| Document Type | Primary Purpose | Risk if Missing |
|---|---|---|
| Permit approval and final inspection record | Shows the permitted work reached the applicable closeout stage | Difficulty demonstrating that the project was inspected or properly closed |
| Contract change orders | Records approved changes to materials, scope, or pricing | Disagreement about what the contractor was supposed to install |
| Product records | Identifies the installed tile, shingle, metal, membrane, foam, coating, underlayment, flashing, and accessories | Confusion during future repairs, warranty questions, or resale review |
| Warranty registration confirmation | Documents completion of any required manufacturer registration process | A missed registration step or uncertainty about eligibility |
| Completion and installation photos | Preserves evidence of visible details before later weather or maintenance changes | Weak documentation for future defect discussions |
| Maintenance instructions | Explains inspection, cleaning, drainage, and care expectations | Neglected maintenance that can contribute to avoidable damage |
Manufacturer requirements vary, so the homeowner should read the actual product documents instead of assuming every warranty works the same way. Some homeowner guides recommend registering a manufacturer warranty within 30 to 60 days after completion, so the registration deadline should be confirmed in the supplied paperwork and completed promptly. Permit requirements also vary by jurisdiction and project scope. The contractor and local building department should confirm the final inspection status.
First Rain Follow-Up and Monsoon Preparation
The first substantial rain gives the homeowner a useful observation point, but it doesn't justify climbing onto the roof during a storm or immediately afterward. From the ground, watch whether gutters receive water, downspouts discharge freely, scuppers flow, and runoff avoids walls, doors, foundations, and garden beds where erosion could occur.
Inside, check the attic and upper-level ceilings after conditions are safe. Look for new staining, damp wood, dripping at penetrations, or moisture around roof-to-wall transitions. A new mark should be photographed and reported with the approximate time, weather conditions, and location. Don't cover an active leak with an improvised patch or walk across a wet tile or membrane surface.
Give low-slope drainage extra attention
Arizona low-slope roofs should be checked before monsoon season, after major storms, and at least annually. The inspection focus includes drains, scuppers, sealants, flashing, overflow staining, ponding, and new leak signs, as outlined in this Arizona low-slope roofing guidance.
Positive drainage is especially important on flat and low-slope systems. One Arizona guide recommends verifying at least 1/4 inch per foot of slope and marking ponding deeper than 1/2 inch after 24 hours. Those are inspection benchmarks, not permission for a homeowner to enter an unsafe roof area. A qualified roofing professional should assess drainage design, membrane condition, and structural limitations.
Desert dust, wind-blown trash, leaves, and roof debris can block valleys, gutters, drains, and scuppers. Cleaning these paths before and during storm season helps preserve runoff routes, while foam and coated roofs also need attention to surface abrasion and ultraviolet exposure. Homeowners can use the monsoon inspection checklist to spot roof weak points before storms and schedule professional follow-up when access or visibility is limited.
Final Sign-Off and When to Request Corrections
A homeowner can usually sign off when the agreed scope is complete, critical quality-control items are corrected or documented with a written resolution, cleanup is finished, required inspections are closed, and the closeout file is complete. Cosmetic items should still have an owner and due date, but they shouldn't be confused with missing flashing, blocked drainage, exposed fasteners, or signs of water entry.
Send the contractor a short written list before final payment. Each line should include the roof location, a photo number, the correction requested, and the expected completion date. Keep contract change orders, invoices, permit records, product information, warranty paperwork, and correspondence together. Avoid relying on a phone call alone.
Correction standard: Every unresolved item should have a location, photo, responsible party, requested correction, and completion date.
A contractor who won't address documented installation concerns, or a homeowner who needs an independent review, should seek a qualified local inspection. America Roofing's information on its America Roofing warranty explained can help homeowners understand why warranty documents and completion records deserve review before sign-off. America Roofing also handles residential and commercial roofing in Phoenix and Tucson, including new roofs, tile, shingle, flat, foam, coating, repair, and reroofing work. Homeowners can request a roofing estimate when a second opinion or documented correction plan is needed.
America Roofing can review visible roof installation details, drainage, flashing, penetrations, cleanup, and closeout documentation for Arizona properties in Phoenix and Tucson. Call 602-237-2478 or visit America Roofing to arrange the next inspection or request a roofing estimate before unresolved issues become a monsoon-season problem.